

How to Create a Safely Remove Hardware shortcut in Windows 10
Safely Remove Hardware allows you to safely shutdown and eject a "removable" storage device before just unplugging or disconnecting it to help prevent accidental data loss if data were still being copied or saved to or from the device.
If you have the removal policy for a device set to quick removal, you can disconnect the device safely without using the Safely Remove Hardware notification icon.
This tutorial will show you how to create or download a Safely Remove Hardware shortcut in Windows 10.
Contents
- Option One: To Download a Safely Remove Hardware Shortcut
- Option Two: To Manually Create a Safely Remove Hardware Shortcut
EXAMPLE: Safely Remove Hardware
1 Click/tap on the Download button below to download the .zip file below.
2 Save the .zip file to your desktop.
3 Unblock the .zip file..
4 Open the .zip file, and extract (drag and drop) the shortcut to your desktop.
5 You can Pin to Taskbar, Pin to Start, add to All apps, add to Quick Launch, assign a keyboard shortcut to, or move this shortcut to where you like for easy use.
6 When finished, you can delete the downloaded .zip file if you like.
1 Right click or press and hold on an empty area on your desktop, and click/tap on New and Shortcut.
2 Copy and paste the path below into the location area, and click/tap on Next. (see screenshot below)
%windir%\System32\rundll32.exe shell32.dll,Control_RunDLL hotplug.dll
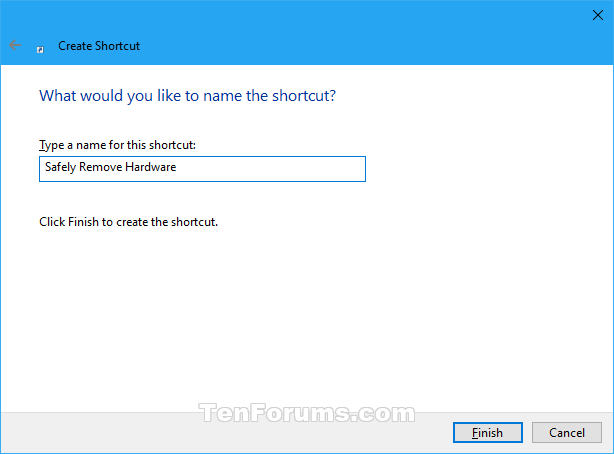
3 Type Safely Remove Hardware for the name, and click/tap on the Finish button. (see screenshot below)
You could name this shortcut anything you would like though.
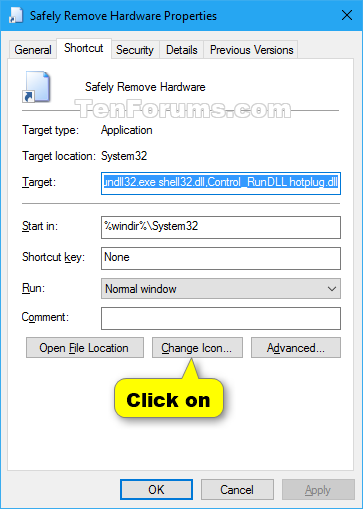
4 Right click or press and hold on the new Safely Remove Hardware shortcut, and click/tap on Properties.
5 Click/tap on the Shortcut tab, then click/tap on the Change Icon button. (see screenshot below)
6 In the line under "Look for icons in this file", copy and paste the location below, and press Enter. (see screenshot below)
%windir%\System32\hotplug.dll
7 Select the icon highlighted in blue above, and click/tap on OK. (see screenshot above)
You could use any icon that you would like instead though.
8 Click/tap on OK. (see screenshot below step 5)
9 You can Pin to Taskbar, Pin to Start, add to All apps, add to Quick Launch, assign a keyboard shortcut to, or move this shortcut to where you like for easy use.
That's it,
Shawn
Related Tutorials
- How to Add Enable or Disable USB Storage Devices Connection context menu in Windows
- How to Enable or Disable Disk Write Caching in Windows 10
Create Safely Remove Hardware shortcut in Windows 10
-
New #1
Option Two looks like it would eject ALL USB devices, correct?
That would not be good with other USB devices plugged in, such as the USB WiFi on one of our PCs.
-
-
New #3
Great! But I didn't want to add yet another icon cluttering up the desktop so I added it to the desktop context menu, using the following .reg file:
Just one slight problem: the white icon is very difficult to see against the light grey context menu in "light theme" mode. However it shows up very well in "dark theme" mode.Code:Windows Registry Editor Version 5.00 ; Add "Safely remove hardware" to Desktop context menu [HKEY_LOCAL_MACHINE\SOFTWARE\Classes\Directory\Background\Shell\Eject] "MUIVerb"="Safely Remove Hardware" "Icon"="hotplug.dll" "Position"="Top" [HKEY_LOCAL_MACHINE\SOFTWARE\Classes\Directory\Background\Shell\Eject\command] ""="rundll32 shell32.dll,Control_RunDLL hotplug.dll"
Please add this to the tutorial as option #3.Last edited by SpacemanSam; 13 Sep 2021 at 01:01.

Create Safely Remove Hardware shortcut in Windows 10
How to Create a Safely Remove Hardware shortcut in Windows 10Published by Shawn BrinkCategory: Customization
14 Feb 2020


 Quote
Quote
Tutorial Categories

Related Discussions
