

How to Install .NET Framework 3.5 in Windows 10
The .NET Framework is a managed execution environment for Windows that provides a variety of services to its running apps. It consists of two major components: the common language runtime (CLR), which is the execution engine that handles running apps, and the .NET Framework Class Library, which provides a library of tested, reusable code that developers can call from their own apps.
The Windows 10 May 2019 Update comes with .NET Framework 4.8 preinstalled.
However, some older apps may require .NET framework 3.5 to be installed to run.
See also:
- Install the .NET Framework 3.5 on Windows 10, Windows 8.1, and Windows 8 | Microsoft .NET
- Overview of the .NET Framework | Microsoft .NET
- .NET Framework Guide | Microsoft .NET
- .NET Framework versions and dependencies | Microsoft .NET
- What's New in the .NET Framework | Microsoft Docs
- How to: Determine which .NET Framework versions are installed | Microsoft .NET
This tutorial will show you different ways to install .NET Framework 3.5 online and offline in Windows 10.
You must be signed in as an administrator to install .NET Framework 3.5.
If you need to repair .NET Framework 3.5, you can uninstall it and then reinstall it using an option below to do so.
Contents
- Option One: Install .NET Framework 3.5 on Demand
- Option Two: Install .NET Framework 3.5 in Windows Features
- Option Three: Install .NET Framework 3.5 by Download
- Option Four: Install .NET Framework 3.5 in Command Prompt
- Option Five: Install .NET Framework 3.5 in PowerShell
- Option Six: Install .NET Framework 3.5 Offline
This option requires an Internet connection to install .NET Framework 3.5.
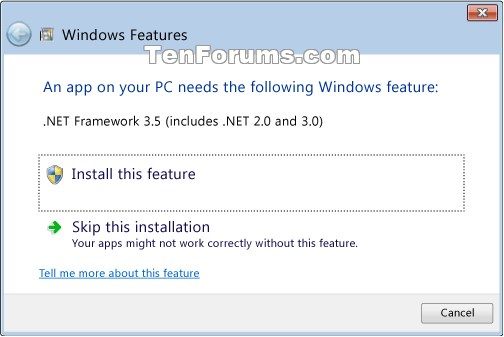
1 You may see the following configuration dialog if you try to run an app that requires the .NET Framework 3.5. Click/tap on Install this feature. (see screenshot below)
2 If prompted by UAC, click/tap on Yes.
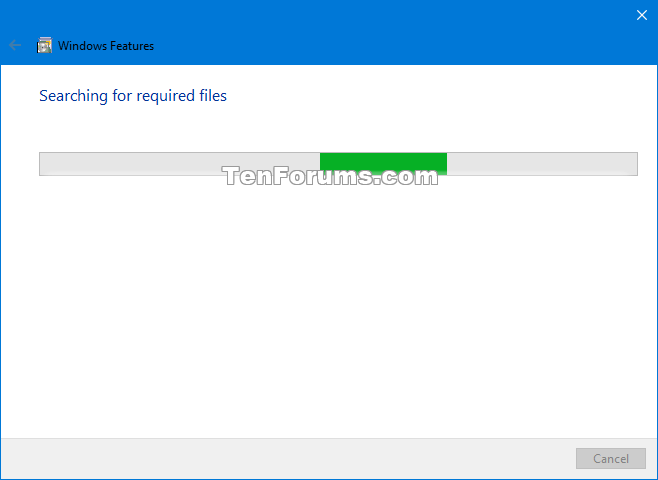
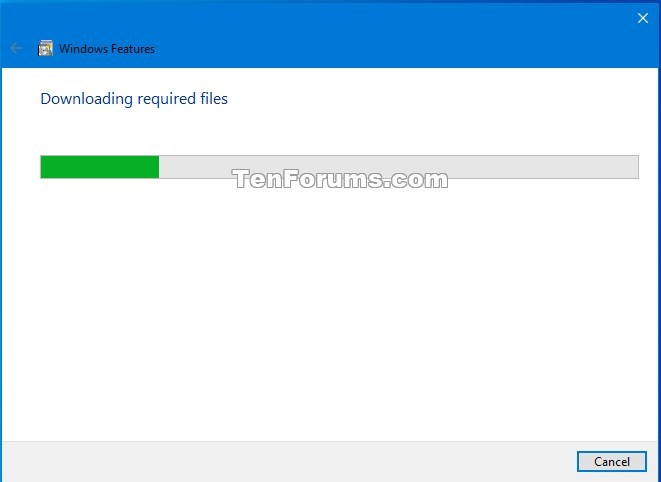
3 Windows Features will now search, download, and install required files for .NET Framework 3.5 online from Windows Update. (see screenshots below)

4 Click/tap on Close when finished and successfully installed. (see screenshot below)
This option requires an Internet connection to install .NET Framework 3.5.
1 Open the Control Panel (icons view), and click/tap on the Programs and Features icon.
2 Click/tap on the Turn Windows features on or off link on the left side. (see screenshot below)
This will open the C:\Windows\System32\OptionalFeatures.exe file.
3 If prompted by UAC, click/tap on Yes.
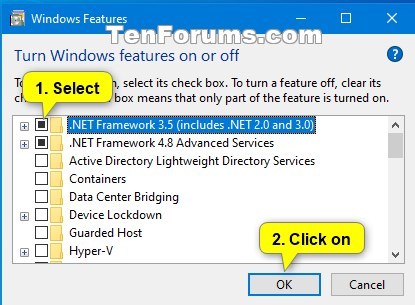
4 Select(black square) .NET Framework 3.5 (includes .NET 2.0 and 3.0), and click/tap on OK. (see screenshot below)
5 Click/tap on Let Windows Update download the files for you. (see screenshot below)
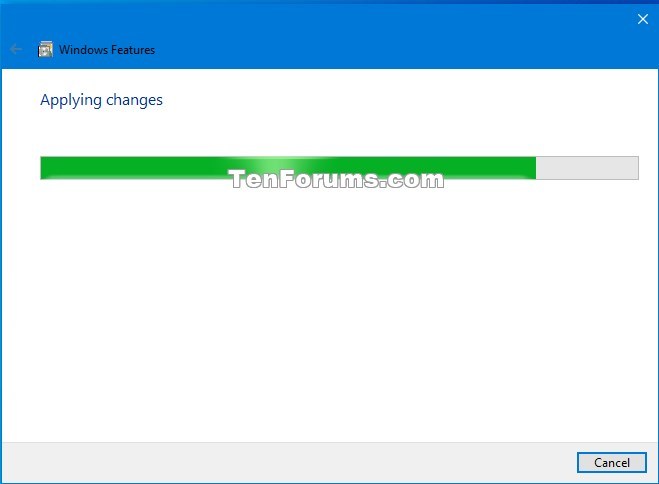
6 Windows Features will now download and apply (install) required files for .NET Framework 3.5 online from Windows Update. (see screenshots below)
7 Click/tap on Close when completed. (see screenshot below)
This option requires an Internet connection to install .NET Framework 3.5.
1 Go to the Download .NET Framework 3.5 SP1 Microsoft website, and click/tap on the Download .NET Framework 3.5 SP1 Runtime button at the site. (see screenshot below)
2 Save the dotnetfx35.exe file to your desktop, and run it.
3 If prompted by UAC, click/tap on Yes.
4 Click/tap on Download and install this feature. (see screenshot below)
5 Windows Features will now search, download, and install required files for .NET Framework 3.5 online from Windows Update. (see screenshots below)
6 Click/tap on Close when finished and successfully installed. (see screenshot below)
7 You can now delete the dotnetfx35.exe file if wanted.
This option requires an Internet connection to install .NET Framework 3.5.
1 Open an elevated command prompt.
2 Copy and paste the command below into the elevated command prompt, and press Enter. (see screenshot below)
Dism /online /Enable-Feature /FeatureName:"NetFx3"
3 When it has finished installing, you can close the elevated command prompt if wanted.
This option requires an Internet connection to install .NET Framework 3.5.
1 Open an elevated PowerShell.
2 Copy and paste the command below into the elevated PowerShell, and press Enter. (see screenshots below)
Enable-WindowsOptionalFeature -Online -FeatureName "NetFx3"
3 When it has finished installing, you can close the elevated PowerShell if wanted.

This option does not use an Internet connection to install .NET Framework 3.5. This can be handy if you are unable to install .NET Framework 3.5 using any of the other options above.
1 Perform one of the following actions depending on what you want to use:
If you don't use media that is the exact same Windows 10 build as what is currently installed, you will get a source files not found error, and .NET Framework 3.5 will fail to install.
A) Connect a Windows 10 installation USB that is the exact same build as what is currently installed.
OR
B) Mount a Windows 10 ISO that is the exact same build as what is currently installed.
How to See Full Details including Build for a Windows 10 ISO file
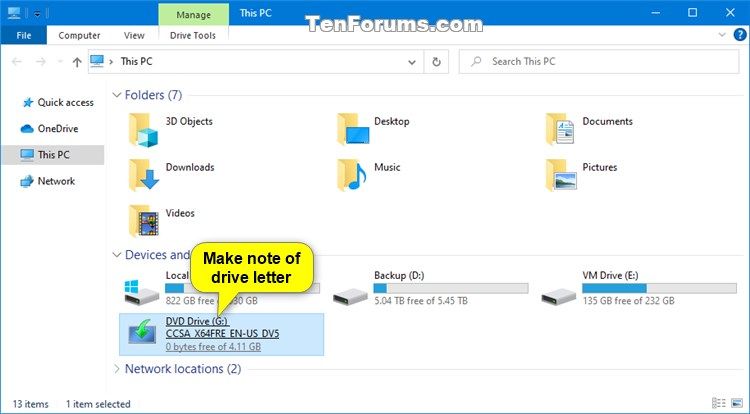
2 Open This PC in File Explorer (Win+E), and make note of the drive letter (ex: "G") of this USB or mounted ISO. (see screenshot below)
If you like, you can download and run the Install_NET_Framework_3.5_Offline.bat file below created by Paul Black to perform these steps for you instead of manually.
Download
3 Open an elevated command prompt.
4 Type the command below into the elevated command prompt, and press Enter. (see screenshot below)
Dism /online /enable-feature /featurename:NetFX3 /Source:<drive letter>:\sources\sxs /LimitAccess
Substitute <drive letter> in the command above with the actual drive letter (ex: "G") from step 2 above for the USB or mounted ISO source.
For example:Dism /online /enable-feature /featurename:NetFX3 /Source:G:\sources\sxs /LimitAccess
5 When it has finished installing, you can close the elevated command prompt if wanted.
That's it,
Shawn
Related Tutorials
- How to Turn Windows Features On or Off in Windows 10
- How to Fix .NET Framework with Microsoft .NET Framework Repair Tool in Windows
Install .NET Framework 3.5 in Windows 10
-
New #1
I got both 3.5 and 4.8 as a combination update just before Build 18362.329 would install on several computers on 8/30 through 9/3, seemed to give the impression it was required first.
-
-
New #3
It would be an update, but unrelated or required for installing .NET Framework 3.5.
Cumulative Update KB4511555 .NET Framework 3.5, 4.8 Windows 10 Aug. 30
-
New #4
Yup - that's why I asked - because when I clean installed 18362 on my desktop it did not have .NET 3.5, and I had to later manually install it - so I'm curious why his installs would say it was required prior to installing 18362.
-
-
New #6
Exactly - which is how I always get it (one or more apps require it, and they tell you when installing). But at that point, if you have such an app, it should already be installed. Hence my confusion.
-
-
-
-
New #9
Hello @Brink,
I have just updated the following Batch script which I wrote quite a while ago now to install .NET Framework v3.5. If you think it is going to be useful perhaps you would like to include it in the Tutorial as part of OPTION SIX - Install .NET Framework 3.5 Offline for example.
Code:@echo off :: ###################################################################################################### :: # Title : Install .NET Framework v3.5 Offline Using Installation Media # :: # Created By: Paul Black at TenForums.com/members/paul-black.html # :: # Created In: September 2020 # :: # Tutorial : https://www.tenforums.com/tutorials/140142-install-net-framework-3-5-windows-10-a.html # :: ###################################################################################################### title Install .NET Framework v3.5 - Written by Paul Black. mode con: cols=80 lines=25 & color 17 set "params=%*" cd /d "%~dp0" && ( if exist "%temp%\getadmin.vbs" del "%temp%\getadmin.vbs") && fsutil dirty query %systemdrive% 1>nul 2>nul || ( echo Set UAC = CreateObject^("Shell.Application"^) : UAC.ShellExecute "cmd.exe", "/k cd ""%~sdp0"" && %~s0 %params%", "", "runas", 1 >> "%temp%\getadmin.vbs" && "%temp%\getadmin.vbs" && exit /b) %windir%\system32\reg.exe query "HKU\S-1-5-19" 1>nul 2>nul || ( echo. & echo ERROR: This Batch file MUST be run in an ELEVATED cmd prompt [ Administrator ] & echo. & echo Right-click the Batch file and click ^<Run as administrator^>. & echo. & echo ^>Press ANY key to EXIT . . . & pause >nul & goto :Exit ) for %%I in (D E F G H I J K L M N O P Q R S T U V W X Y Z) do if exist "%%I:\\sources\install.wim" set setupdrv=%%I if defined setupdrv ( echo. & echo Installation media found on drive %setupdrv%: echo. & echo Installing .NET Framework v3.5 [ includes .NET v2.0 and .NET v3.0 ] . . . Dism /Online /Enable-Feature /FeatureName:NetFX3 /All /Source:%setupdrv%:\sources\sxs /LimitAccess echo. & echo .NET Framework v3.5 should now be installed. & echo. ) else ( echo. & echo ERROR: No installation media found^! echo. & echo You MUST either . . . echo. & echo [1] Insert a DVD or USB of the exact same build and run this file again. echo [2] Mount an ISO of the exact same build and run this file again. & echo. ) echo Press ANY key to EXIT . . . & pause >nul & goto :Exit :ExitLast edited by Paul Black; 24 Nov 2020 at 08:50.

Install .NET Framework 3.5 in Windows 10
How to Install .NET Framework 3.5 in Windows 10Published by Shawn BrinkCategory: Apps & Features
27 Sep 2020


 Quote
Quote

Tutorial Categories

Related Discussions
