

How to Run System Maintenance Troubleshooter in Windows
Information
By default, Windows will automatically run the System Maintenance troubleshooter on a scheduled basis in the background to check for routine maintenance issues, proactively fix detected problems if able, and notifes you if user input is required.
Potential issues checked by System Maintenance:
- Broken shortcuts - Broken shortcuts are invalid references to programs and other resources. For example, a desktop shortcut for a USB device may be regarded as broken if the USB device is not connected when the System Maintenance troubleshooter performs its maintenance. When there are more than 4 broken shortcuts on the desktop, then all broken shortcuts on the desktop are removed.
- Troubleshooting history is taking up disk space - Frees up disk space by removing troubleshooting history logs older than 1 month.
- System time is incorrectly set - Sets the correct system time and synchronize system clock with the time server. When the system time is set incorrectly, features that rely on time measurement such as Product Activation, malware scanners, and browser certificates might not work correctly.
- Unused desktop icons - Icons and shortcuts on the desktop that have been unused in 3 months are removed.
- Disk volume errors - Frees up disk space by repairing hard disk volume errors such as bad sectors, lost clusters, cross-linked files and directory errors. These problems can cause the file system to report incorrect volume details and occupy excessive disk space.
- Error reports are taking up disk space - Frees up disk space by removing error reports and logs older than 1 month.
This tutorial will show you how to manually run the System Maintenance troubleshooter on demand to perform maintenance tasks in Windows 7, Windows 8, and Windows 10.
Here's How:
1. Open the Control Panel (icons view), and click/tap on the Troubleshooting icon.
Note
If you like, you can press the Win+R keys to open Run, typemsdt.exe -id MaintenanceDiagnosticinto Run, and click/tap on OK to go directly to step 4 below instead.
2. Click/tap on the View all link at the top left corner in Troubleshooting. (see screenshot below)
3. Click/tap on the System Maintenance troubleshooter to run it. (see screenshot below)
4. Do step 5 (standard) or step 6 (Run as administrator) below for how you would like to run the troubleshooter.
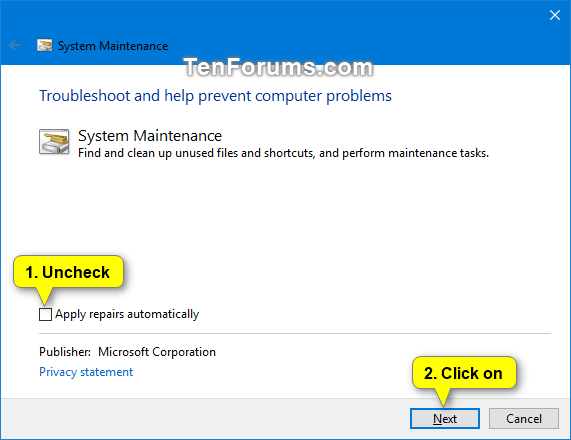
A) Click/tap on the Advanced link. (see screenshot below)
B) Uncheck the Apply repairs automatically box, and click/tap on Next. (see screenshot below)
C) When the troubleshooter has finished, follow the instructions for any found issues to perform the actions you want.
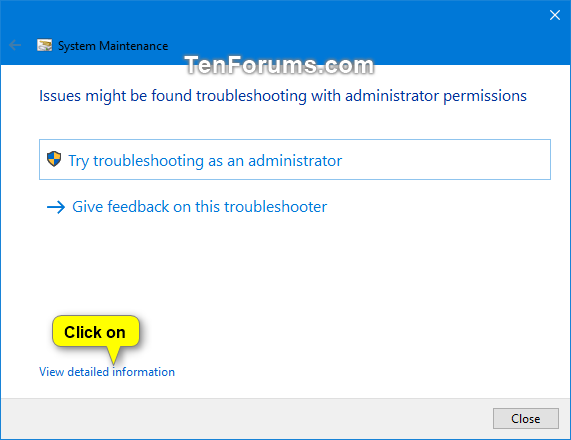
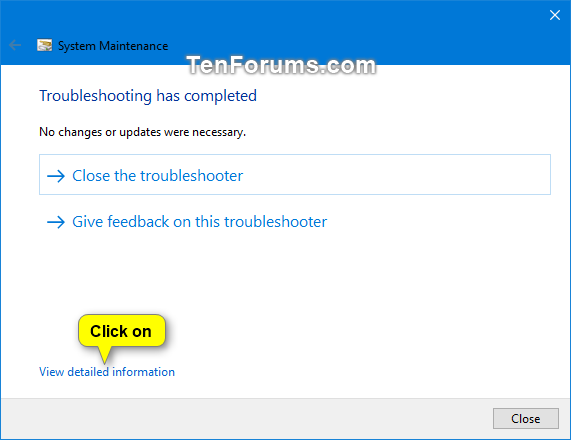
D) When finished, click/tap on View detailed information, and go to step 7 below. (see screenshot below)
You must be signed in as an administrator to be able to do this step.
A) Click/tap on the Advanced link. (see screenshot below)
B) Click/tap on the Run as administrator link. (see screenshot below)
C) Click/tap on the Advanced link again. (see screenshot below)
D) Uncheck the Apply repairs automatically box, and click/tap on Next. (see screenshot below)
E) When the troubleshooter has finished, follow the instructions for any found issues to perform the actions you want.
F) When finished, click/tap on View detailed information, and go to step 7 below. (see screenshot below)
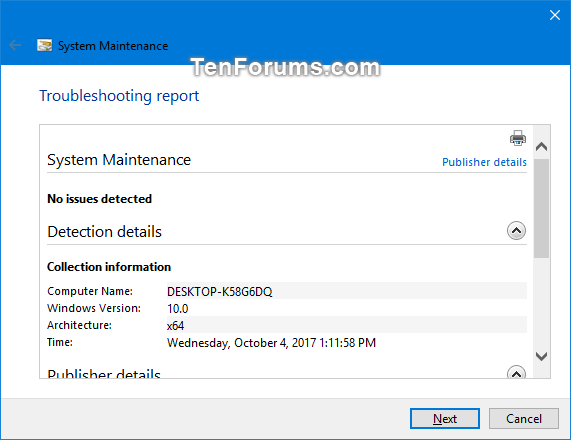
7. You can now view the report details of the troubleshooter. You can close the troubleshooter when finished. (see screenshots below)
That's it,
Shawn
Related Tutorials
- How to Enable or Disable Scheduled System Maintenance in Windows
- How to Run Troubleshooters to Find and Fix Common Problems in Windows 10
- How to View Troubleshooting History and Details in Windows 10
- How to Clear Troubleshooting History in Windows 10
- How to Download and Use Start Menu Troubleshooter in Windows 10
- How to Download and Use Program Install and Uninstall Troubleshooter in Windows
Run System Maintenance Troubleshooter in Windows
Run System Maintenance Troubleshooter in Windows
How to Run System Maintenance Troubleshooter in WindowsPublished by Shawn BrinkCategory: Performance & Maintenance
04 Oct 2017


Tutorial Categories

Related Discussions
