

How to Add History to Context Menu in Windows 10
You can use File History to automatically back up versions of your files on a schedule to a location you select to save to. You can select to save backups to an internal hard drive, externally connected drive (ex: USB drive), or you can save to a drive on a network. You can add, remove, and exclude folders to be backed up by File History.
Over time, you'll have a complete history of your files. If the originals are lost, damaged, or deleted, you can restore them. You can also browse and restore different versions of your files. For example, if you want to restore an older version of a file (even if it wasn't deleted or lost), you can browse through a timeline, select the version you want, and restore it.
This tutorial will show you how to add History to the context menu of files and folders for all users in Windows 10.
While you must be signed in as an administrator to add or remove the context menu, all users will be able to use the context menu.
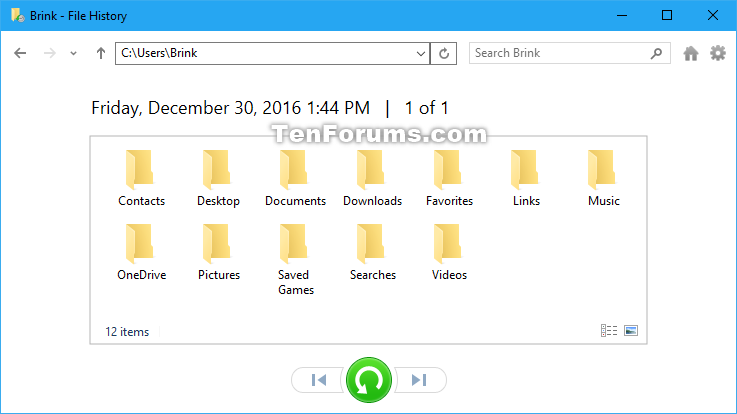
When you right click or press and hold on a file or folder and click/tap on History, it will show you the history for the selected item from your File History like below to be able to restore a previous version.
File History adds 26 characters to each file name as it backs up. The maximum total full path length of any file that it backs up is 210 characters, including these 26 characters. Thus any original file with a full path length of 185 or more characters is ignored and will not be included in the back up.
EXAMPLE: "History" context menu
Here's How:
1 Do step 2 (add) or step 3 (remove) below for what you would like to do.
A) Click/tap on the Download button below to download the file below, and go to step 4 below.
Add_History_to_context_menu.reg
Download
This is the default setting.
A) Click/tap on the Download button below to download the file below, and go to step 4 below.
Remove_History_from_context_menu.reg
Download
4 Save the .reg file to your desktop.
5 Double click/tap on the downloaded .reg file to merge it.
6 Wehn prompted, click/tap on Run, Yes (UAC), Yes, and OK to approve the merge.
7 You can now delete the downloaded .reg file if you like.
That's it,
Shawn
Related Tutorials
- How to Turn On or Off File History in Windows 10
- How to Enable or Disable File History in Windows 10
- How to Reset File History to Default in Windows 10
- How to Select a File History Drive in Windows 10
- How to Exclude Folders from File History in Windows 10
- How to Manually Create a File History Backup in Windows 10
- How to Add or Remove Folders to be Backed Up by File History in Windows 10
- How to Change how Often to Save File History in Windows 10
- How to Change how Long to Keep File History in Windows 10
- How to Restore Files or Folders using File History in Windows 10
- How to Delete Older Versions of File History in Windows 10
- How to Recommend File History Drive to Homegroup in Windows 10
- Add or Remove Previous Versions from Context Menu and Properties in Windows 10
- How to Create File History shortcut in Windows 10
History - Add to Context Menu in Windows 10
History - Add to Context Menu in Windows 10
How to Add History to Context Menu in Windows 10Published by Shawn BrinkCategory: Customization
02 Jun 2020


 Quote
QuoteTutorial Categories

Related Discussions
