

How to Link or Unlink OneDrive with Microsoft Account in Windows 10
OneDrive is a cloud-based storage service where you can view, browse, upload, and share the files you saved online to OneDrive.
By default, OneDrive is set to start when you sign in to Windows to have all files in each folder you choose to sync in OneDrive on your PC is automatically kept in sync with your online OneDrive.
Sometimes you may wish to stop syncing OneDrive files to your PC, and start syncing again at another time.
See also: How to add an account in OneDrive | Microsoft Support
This tutorial will show you how to link (sign in) or unlink (sign out) OneDrive with a Microsoft account to start or stop syncing files for your account in Windows 10.
Contents
- Option One: To Unlink (sign out) OneDrive with Account and Stop Syncing Files
- Option Two: To Link (sign in) OneDrive with Account and Start Syncing Files
EXAMPLE: OneDrive on taskbar notification area
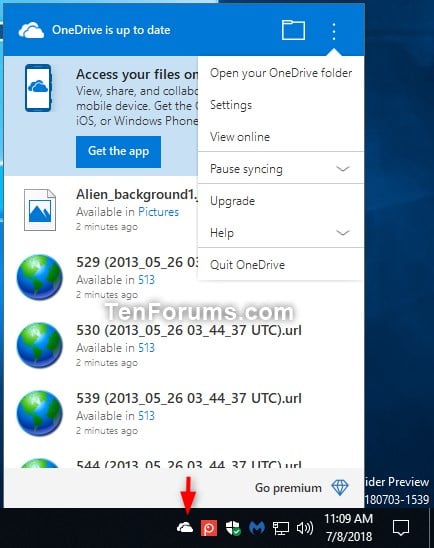
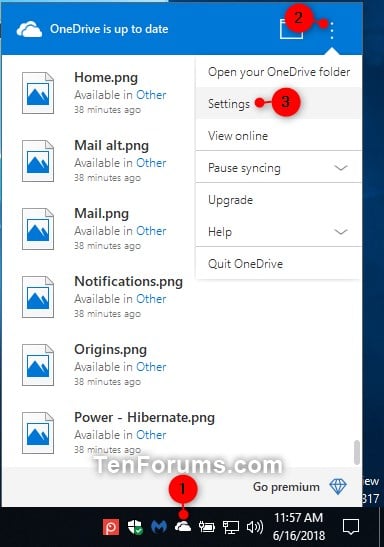
1 Right click or press and hold on the OneDrive icon on the taskbar notification area, click/tap on the menu (3 dots) button, and click/tap on Settings. (see screenshot below)
If OneDrive is currently not running to show this icon, then run: %LocalAppData%\Microsoft\OneDrive\OneDrive.exe
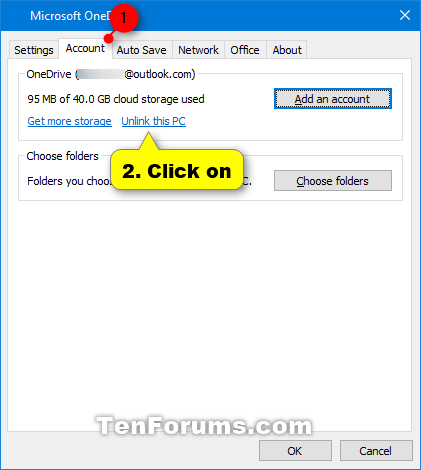
2 Click/tap on the Account tab, and click/tap on the Unlink this PC link under OneDrive. (see screenshot below)
3 Click/tap on Unlink account to confirm. (see screenshot below)
4 OneDrive will now be unlinked from this PC and stop syncing files to your account in Windows 10. (see screenshot below)
1 Open OneDrive from the Start menu , or click/tap on the OneDrive icon on the taskbar notification area.
You can also open OneDrive by running: %LocalAppData%\Microsoft\OneDrive\OneDrive.exe
2 Enter the email address for your Microsoft account, and click/tap on Sign in. (see screenshot below)
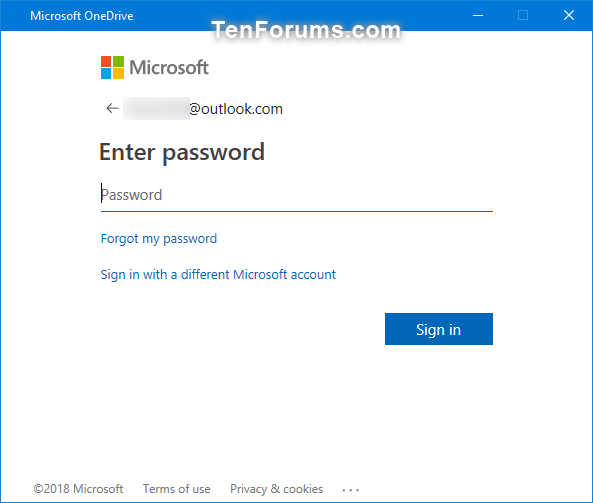
3 Enter the password for your Microsoft account, and click/tap on Sign in. (see screenshot below)
4 If you have turned on two-step verification for your Microsoft account, click/tap on how you want to get your security code to verify your identity, fill out any required information, and click/tap on Send code. (see screenshots below)
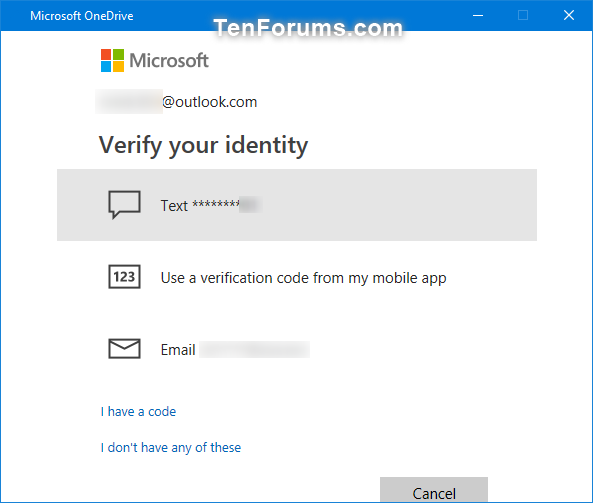
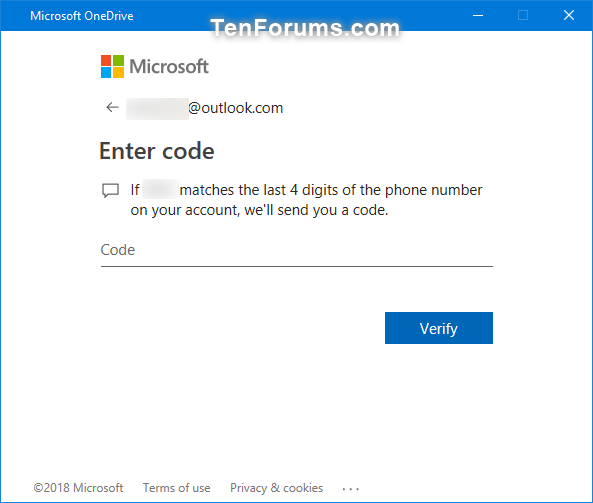
5 Enter the received code from Microsoft, and click/tap on Verify. (see screenshot below)
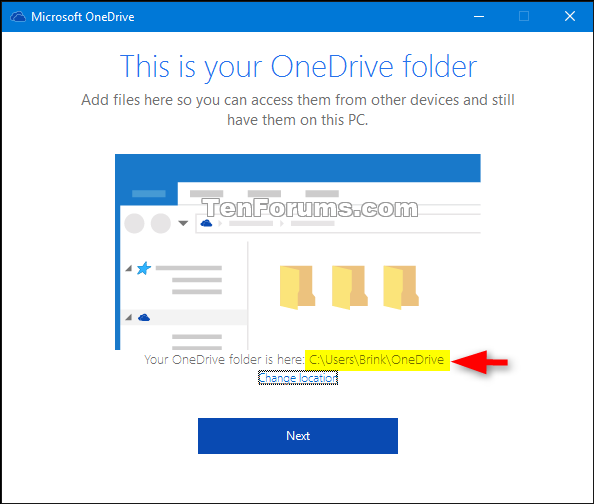
6 Make note of your shown OneDrive folder location, and click/tap on Next. (see screenshot below)
7 Do step 8 (new location) or step 9 (this location) below for where you want your OneDrive folder to be located.
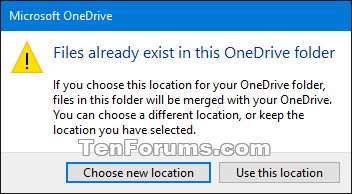
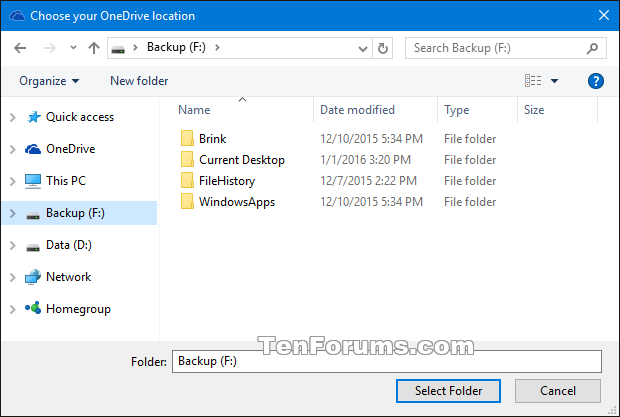
A) Click/tap on Choose new location. (see screenshot below)
B) Browse to and select a folder or drive for the location of your OneDrive folder, click/tap on Select Folder, and go to step 10 below. (see screenshot below)
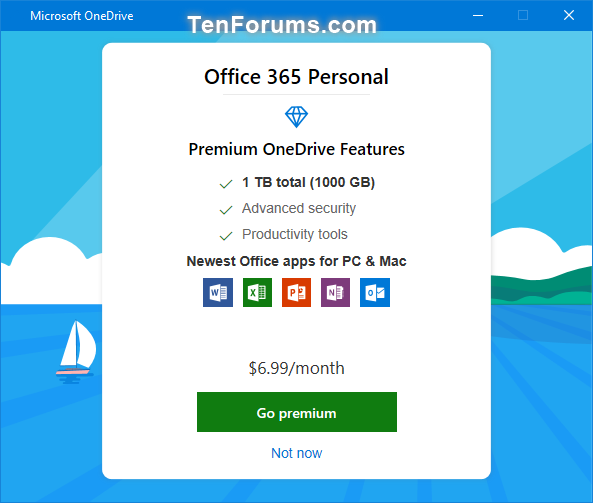
10 If prompted, click/tap on the Not now link. (see screenshot below)
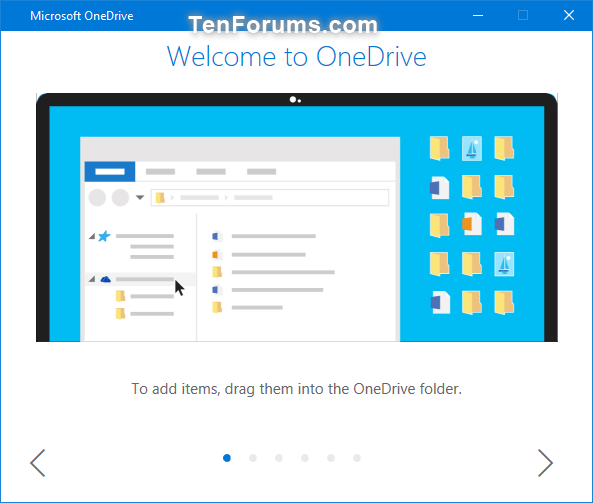
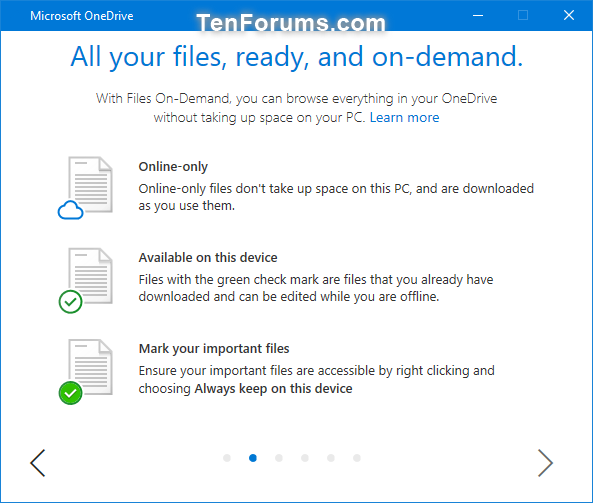
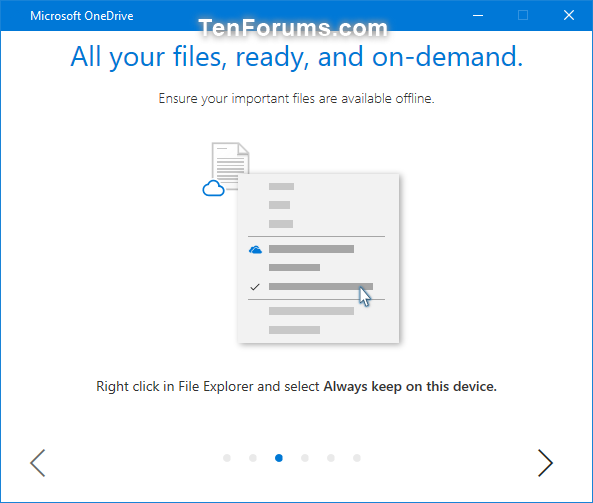
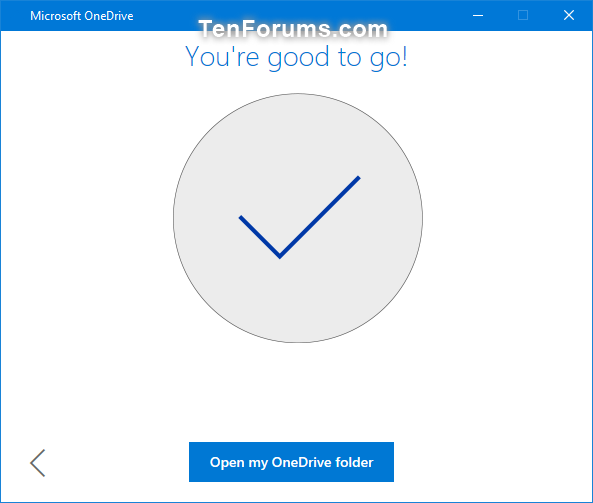
11 When finished, looking through the Welcome to OneDrive guide, you can close the Microsoft OneDrive setup window. (see screenshots below)
12 If you like, you may now want to Choose what folders you want to sync with your OneDrive.
That's it,
Shawn
Related Tutorials
- How to Uninstall OneDrive in Windows 10
- How to Enable or Disable OneDrive Integration in Windows 10
- How to Add a OneDrive Open or Close Context Menu in Windows 10
- How to Choose Folders for OneDrive Selective Sync in Windows 10
- How to Sync Any Folder to OneDrive in Windows 10
- How to Turn On or Off Start OneDrive Automatically when you Sign in to Windows 10
- How to Change the Location of your OneDrive Folder in Windows 10
- How to Reset OneDrive Sync in Windows 10
- How to Sync Multiple OneDrive Accounts in Windows
- How to Turn On or Off Sync Office 2016 Files with OneDrive in Windows 10
- How to Add or Remove Move to OneDrive Context Menu in Windows 10
- How to Set up OneDrive Personal Vault in Windows 10
- How to Enable or Disable Personal Vault in OneDrive and Windows 10
- How to View, Restore, Download, and Delete Previous Versions of Files on OneDrive
Link or Unlink OneDrive with Microsoft Account in Windows 10
-
New #1
First of all,
Great, easy to follow tutorial Shawn
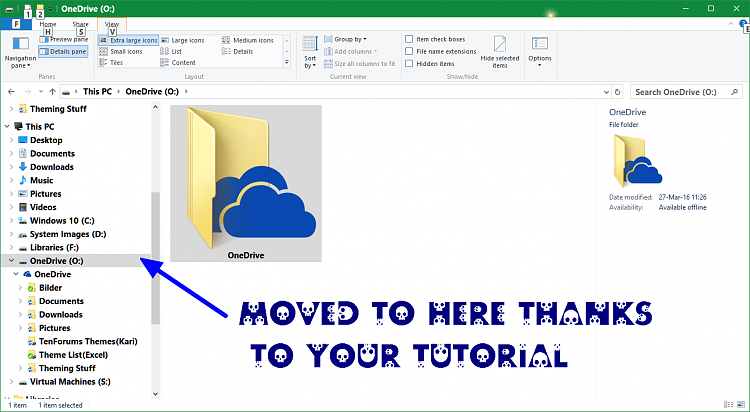
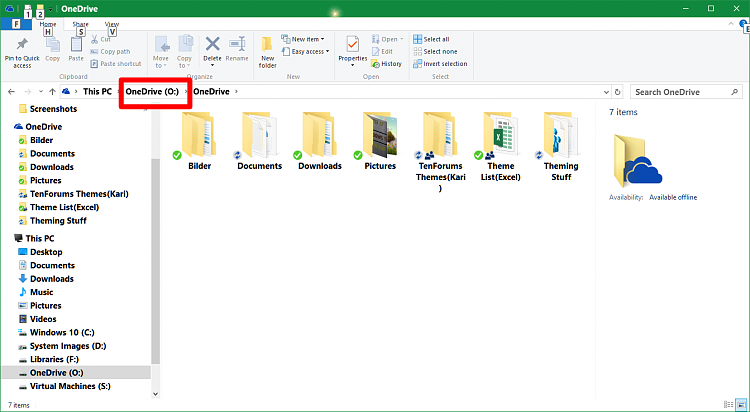
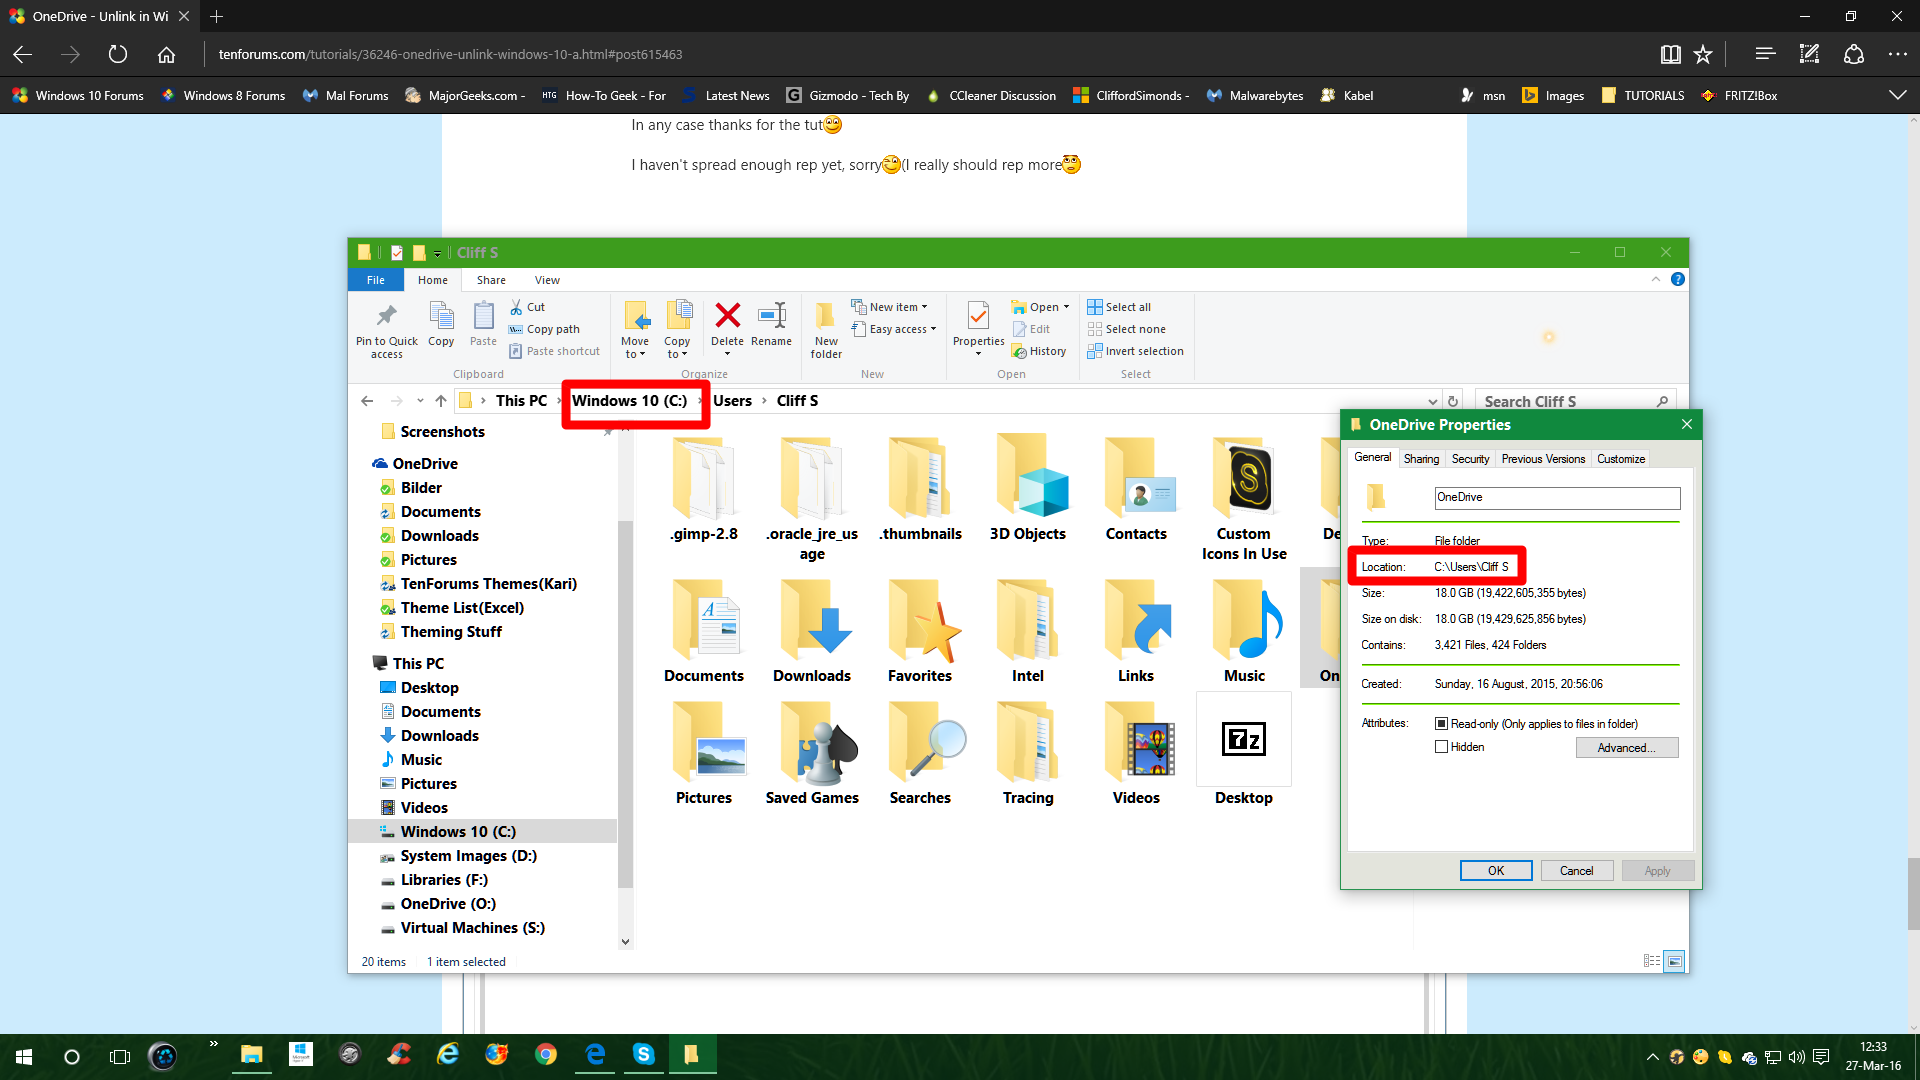
I'm in the process of re/ organizing OneDrive on my laptop, VM, and desktop(moved from C: drive 512GB SSD to a partition on my 2TB spinner(until I get a 2TB EVO SSD)).
To find the tutorial(I saw it when you first published it and forgot the title) took a while though.
I searched for "Move OneDrive to another partition or drive", and it was under "Unlink".
Do you think you could expand the title to include moving, or, easier yet(as it's already on G+ under this title), add the description to the index?
In any case thanks for the tut:)
I haven't spread enough rep yet, sorry (I really should rep more
Last edited by Cliff S; 27 Mar 2016 at 05:42.
-
New #2
One question Shawn...
Now that my OneDrive folder and subfolders are moved and setup to the 2nd internal disk,
can I delete the whole folder on my C: drive in my User folder on the C: drive? Or should I leave well enough alone?

-
New #3
Happy Easter Cliff. :)
I find that using key words based on the main subject (ex: OneDrive) works best when searching for tutorials.
If you don't use OneDrive at all, you could disable OneDrive integration to completely remove it.
https://www.tenforums.com/tutorials/1...dows-10-a.html
-
New #4
Oh I'm using it, it's just, I successively moved it's location from C SSD) to my 2nd internal(a larger HDD). But, on C:, in my user folder, are still copies of the files. I just wanted to know if I deleted those, would if wipe out my new location and online folders, or are they ok to delete now, that they are sync'd to the other drive. Confusing I know, I'm having a hard time formulating what I mean myself
-
New #5
Sorry, I wasn't awake yet I guess and misunderstood what you asked.
I wouldn't delete the OneDrive folder on your C: drive to be safe. You could hide it though.
File and Folder - Hide or Unhide - Windows 7 Help Forums
-
-
New #7
Wanting to understand Onedrive before I use it. Shawn, I have these questions /uncertainties:
-
New #8
Hello,
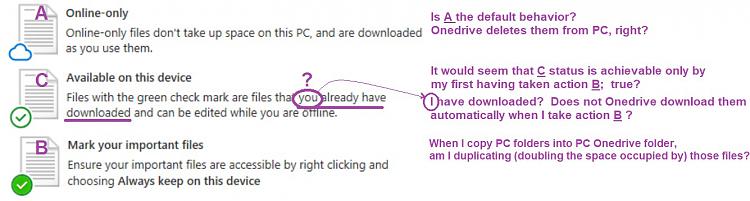
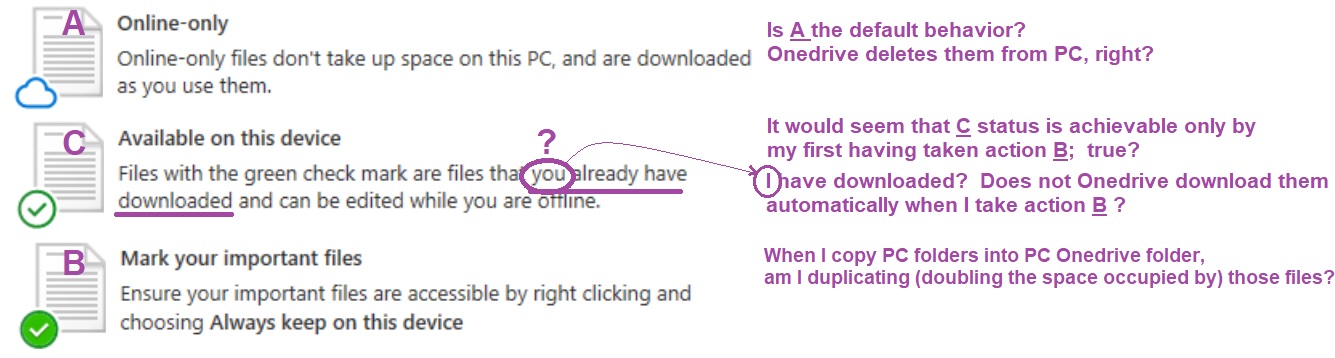
Usually, folders in the OneDrive folder on your PC will sync with the online OneDrive, and be available on both locations.
You can then select those options for how you want to keep specific items stored at.
Free Up Space from Locally Available OneDrive Files in Windows 10
Mark OneDrive Files as Always keep on this device in Windows 10
-
-
New #9
Thanks.
Must files be within folders? (OneDrive subfolders)
With regard to my copy/pasting something into the OneDrive folder
(apart from whatever OneDrive unilaterally may include in the OneDrive folder),
my understanding ofis that OneDrive uploads the something that I copy/paste. Nothing more would happen if I do nothing more. Note that none of A, B, C above describe that condition.
Link or Unlink OneDrive with Microsoft Account in Windows 10
How to Link or Unlink OneDrive with Microsoft Account in Windows 10Published by Shawn BrinkCategory: Apps & Features
25 Sep 2020


 Quote
Quote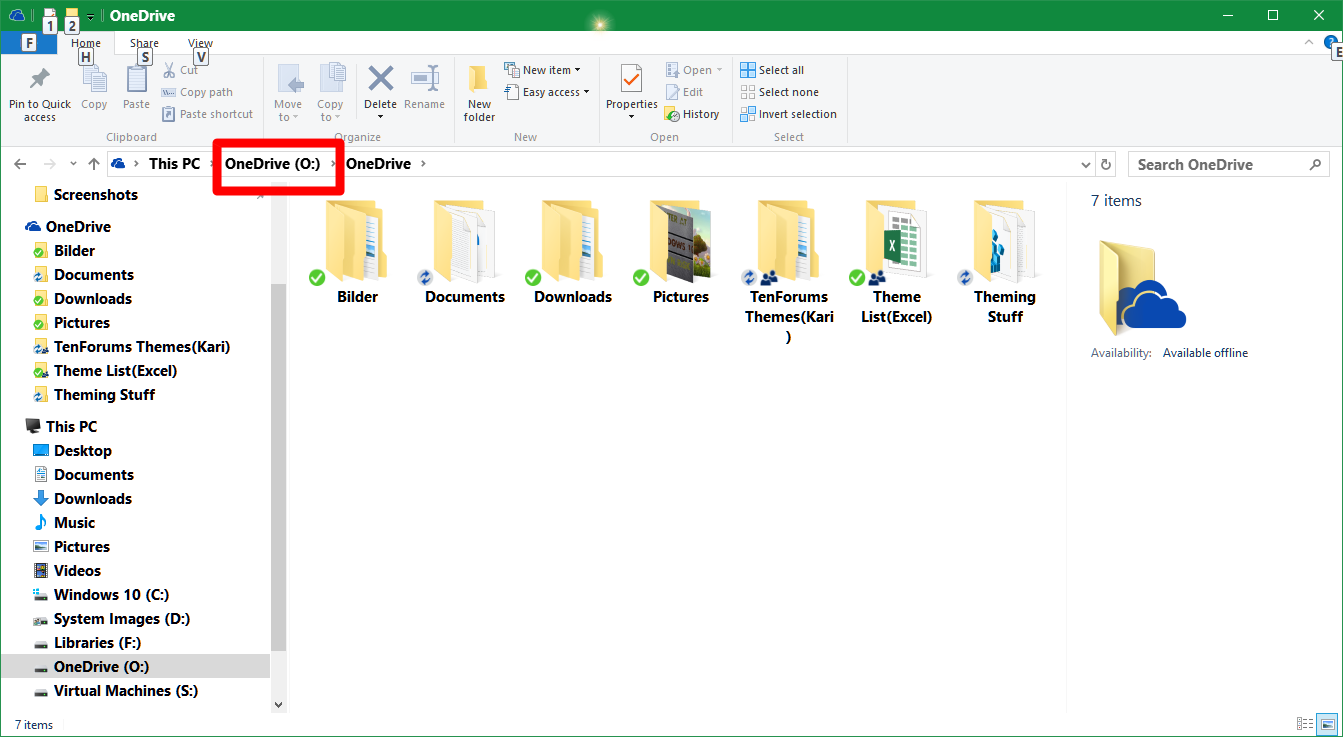
Tutorial Categories

Related Discussions
