

How to Add Show Recycle Confirmation to Recycle Bin Context Menu in Windows 10
The Recycle Bin provides a safety net when deleting files or folders. When you delete any of these items from your hard disk, Windows places it in the Recycle Bin and the Recycle Bin icon changes from empty to full.
When you delete a file or folder in Windows, a delete confirmation dialog will display by default for you to approve sending the file or folder to the Recycle Bin.
You can turn off these recycle confirmations if wanted from the Recycle Bin properties page.
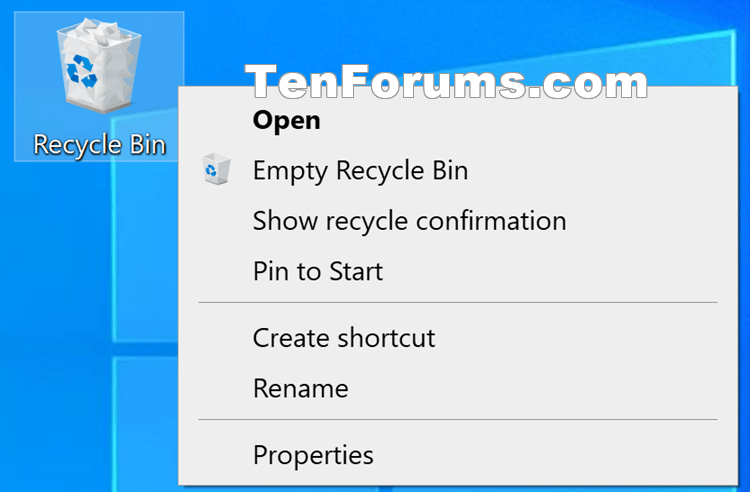
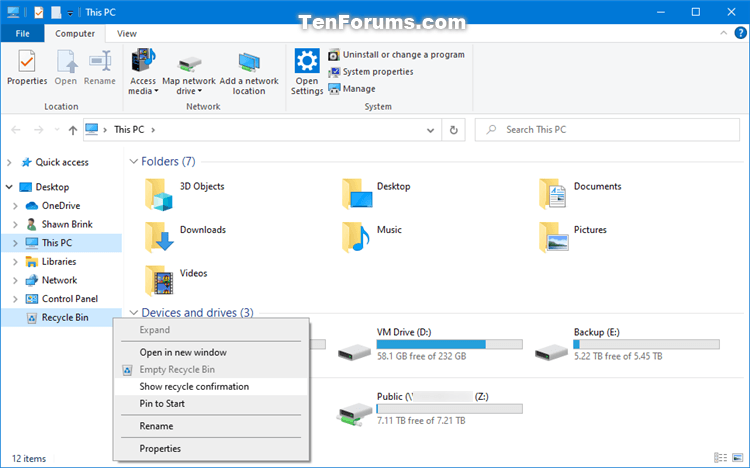
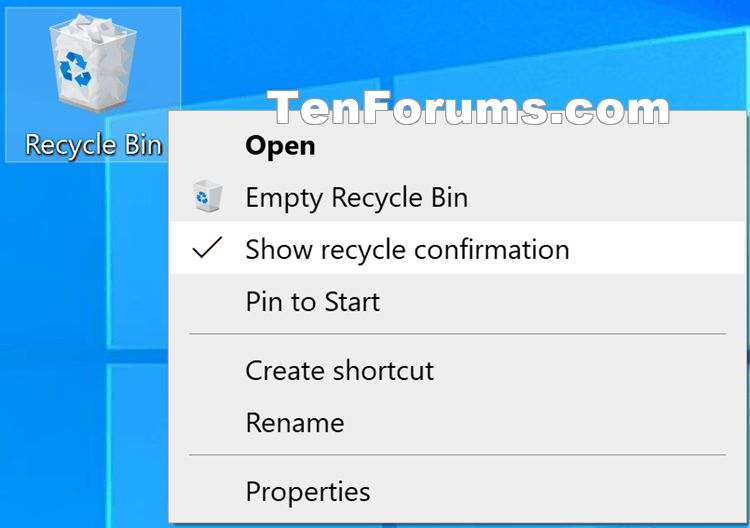
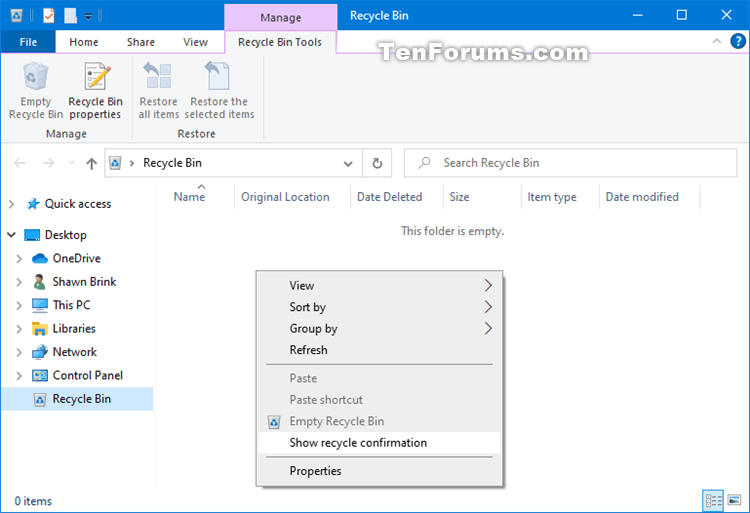
If you like, you can add Show recycle confirmation to the context menu of the Recycle Bin to make it quick and easy to toggle on (checked) or off (unchecked) to display the delete confirmation dialog on demand.
This tutorial will show you how to add Show recycle confirmation to the context menu of the Recycle Bin for all users in Windows 10.
While you must be signed in as an administrator to add or remove the context menu, all users will be able to use the context menu.
EXAMPLE: "Show recycle confirmation" added to Recycle Bin context menu
Here's How:
1 Do step 2 (add) or step 3 (remove) below for what you would like to do.
A) Click/tap on the Download button below to download the file below, and go to step 4 below.
Add_Show_recycle_confirmation_context_menu.reg
Download
(Contents of .reg file for reference)
Code:Windows Registry Editor Version 5.00 [HKEY_CLASSES_ROOT\CLSID\{645FF040-5081-101B-9F08-00AA002F954E}\shell\Windows.ToggleRecycleConfirmations] "CommandStateSync"="" "ExplorerCommandHandler"="{2B1FFCE5-DD0F-4f1f-B150-A87AE69CE009}"
This is the default setting.
A) Click/tap on the Download button below to download the file below, and go to step 4 below.
Remove_Show_recycle_confirmation_context_menu.reg
Download
(Contents of .reg file for reference)
Code:Windows Registry Editor Version 5.00 [-HKEY_CLASSES_ROOT\CLSID\{645FF040-5081-101B-9F08-00AA002F954E}\shell\Windows.ToggleRecycleConfirmations]
4 Save the .reg file to your desktop.
5 Double click/tap on the downloaded .reg file to merge it.
6 When prompted, click/tap on Run, Yes (UAC), Yes, and OK to approve the merge.
7 You can now delete the downloaded .reg file if you like.
That's it,
Shawn
Related Tutorials
- How to Turn On or Off Recycle Bin Delete Confirmation in Windows 10
- How to Customize Delete Confirmation Dialog Prompt Details in Windows
- How to Set Recycle Bin to Permanently Delete Files Immediately in Windows 10
- How to Add Empty Recycle Bin to Context Menu in Windows 10
- How to Add or Remove Properties from Recycle Bin Context Menu in Windows
- How to Add Secure Delete to Recycle Bin Context Menu in Windows 10
Add Show Recycle Confirmation to Windows 10 Recycle Bin Context Menu

Add Show Recycle Confirmation to Windows 10 Recycle Bin Context Menu
How to Add Show Recycle Confirmation to Recycle Bin Context Menu in Windows 10Published by Shawn BrinkCategory: General Tips
19 Mar 2020
Tutorial Categories

Related Discussions
