
New
#21
Hi Swordfishx86
I was my C: drive to be small, so when I create a System Image of it, it wil also be small.
That's why I prefer to get rid of anything that Windows can live well without.
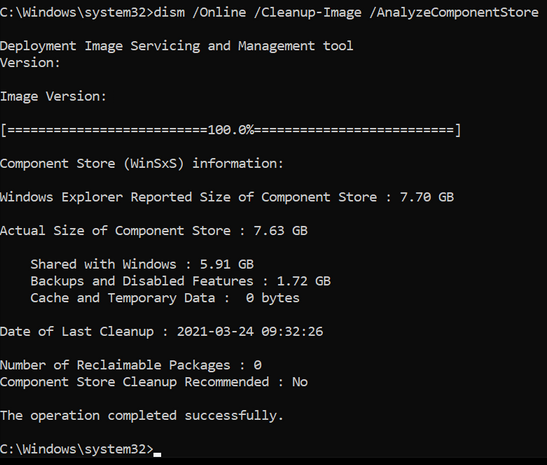
/ResetBase: yes
/SPSuperseded: No, since I did not have any SP installed..
Just in case, I did run it now, and:
Same as before:


 Quote
Quote
 Not too long ago, in another thread there was this person who was worrying over the fact that Acronis likes to shuffle Windows partitions around. The best possible medicine against that kind of complaint, is to just go ahead and throw both the System Reserved partition and the WinRE partition off of the storage device altogether. That is, from a real technical point of view.


