

How to Create a Reliability Monitor Shortcut in Windows 10
Information
Reliability Monitor is an advanced tool that provides a system stability overview and details about events that impact reliability. It calculates the Stability Index shown in the System Stability Chart over the lifetime of the system.
Based on data collected over the lifetime of the system, each date in the System Stability Chart includes a graph point showing that day's System Stability Index rating. The System Stability Index is a number from 1 (least stable) to 10 (most stable) and is a weighted measurement derived from the number of specified failures seen over a rolling historical period. Reliability Events in the System Stability Report describe the specific failures.
- Recent failures are weighted more heavily than past failures, allowing an improvement over time to be reflected in an ascending System Stability Index once a reliability issue has been resolved.
- Days when the system is powered off or in a sleep state are not used when calculating the System Stability Index.
- If there is not enough data to calculate a steady System Stability Index, the graphed line will be dotted. When enough data has been recorded to generate a steady System Stability Index, the graphed line will be solid.
- If there are any significant changes to the system time, an Information icon will appear on the graph for each day on which the system time was adjusted.
This tutorial will show you how to create or download a Reliability Monitor shortcut in Windows 10.
CONTENTS:
- Option One: To Download a Reliability Monitor Shortcut
- Option Two: To Manually Create a Reliability Monitor Shortcut
EXAMPLE: Reliability Monitor
1. Click/tap on the Download button below to download the .zip file below.
2. Save the .zip file to your desktop.
3. Unblock the .zip file..
4. Open the .zip file, and extract (drag and drop) the shortcut to your desktop.
5. You can Pin to Taskbar, Pin to Start, add to All apps, add to Quick Launch, assign a keyboard shortcut to, or move this shortcut to where you like for easy use.
6. When finished, you can delete the downloaded .zip file if you like.
1. Right click or press and hold on an empty area on your desktop, and click/tap on New and Shortcut.
2. Copy and paste the target below into the location area, and click/tap on Next. (see screenshot below)
perfmon.exe /rel
3. Type Reliability Monitor for the name, and click/tap on the Finish button. (see screenshot below)
Note
You could name this shortcut anything you would like though.
4. Right click or press and hold on the new Reliability Monitor shortcut, and click/tap on Properties.
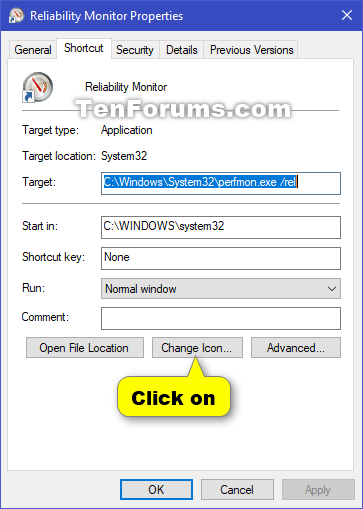
5. Click/tap on the Shortcut tab, then click/tap on the Change Icon button. (see screenshot below)
6. In the line under "Look for icons in this file", copy and paste the location below, and press Enter. (see screenshot below)
%SystemRoot%\system32\werconcpl.dll
7. Select the icon highlighted in blue above, and click/tap on OK. (see screenshot above)
You could use any icon that you would like instead though.
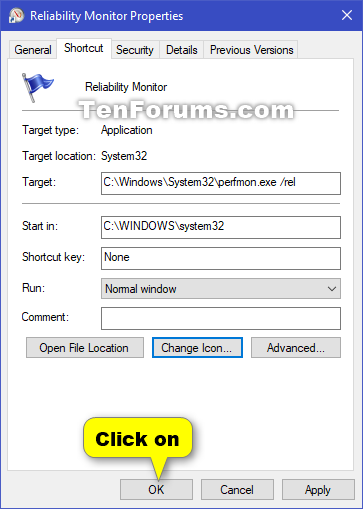
8. Click/tap on OK. (see screenshot below)
9. You can Pin to Taskbar, Pin to Start, add to All apps, add to Quick Launch, assign a keyboard shortcut to, or move this shortcut to where you like for easy use.
That's it,
Shawn
Related Tutorials
- How to Enable or Disable Windows Error Reporting in Windows 10
- How to View Reliability History in Windows 10
- How to Clear Reliability History in Windows 10
Create Reliability Monitor Shortcut in Windows 10

Create Reliability Monitor Shortcut in Windows 10
How to Create a Reliability Monitor Shortcut in Windows 10Published by Shawn BrinkCategory: Customization
01 Apr 2018


Tutorial Categories

Related Discussions
