

How to Add Snipping Tool to Context Menu in Windows
Information
You can use Snipping Tool to capture a screen shot, or snip, of any object on your screen, and then annotate, save, or share the image.
This tutorial will show you how to add or remove Snipping Tool from the context menu for all users in Windows.
While you must be signed in as an administrator to be able to add or remove the Snipping Tool context menu, all users will be able to use the context menu.
Note
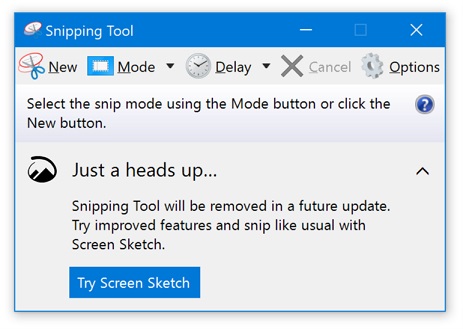
Starting with Windows 10 build 17704, youll see a note about this in the Snipping Tool. Currently, we are not planning to remove the Snipping Tool in the next update to Windows 10 and the consolidation work underway will be a feedback and data-driven decision. If you havent already, please take a moment to try out the Screen Sketch app and let us know how its working for you. Screen Sketch gives you all of the functionality of the Snipping Tool with additional improvements.
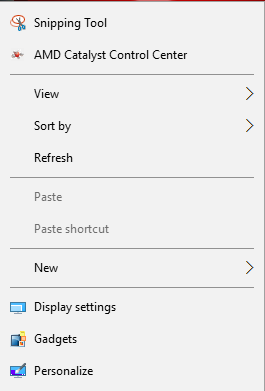
EXAMPLE: Sniping Tool context menu
Here's How:
1. Do step 2 (add) or step 3 (remove) below for what you would like to do.
A) Click/tap on the Download button below to download the file below, and go to step 4 below.
Add_Snipping_Tool_To_Context_Menu.reg
Download
NOTE: This is the default setting.
A) Click/tap on the Download button below to download the file below, and go to step 4 below.
Remove_Snipping_Tool_From_Context_Menu.reg
Download
4. Save the .reg file to your desktop.
5. Double click/tap on the downloaded .reg file to merge it.
6. If prompted, click on Run, Yes (UAC), Yes, and OK to approve the merge.
7. You can now delete the downloaded .reg file if you like.
That's it,
Jeff
Related Tutorials
- How to Install or Uninstall Snipping Tool in Windows 10
- How to Enable or Disable Snipping Tool in Windows
- How to Take Screenshot with Snipping Tool in Windows
- How to Enable or Disable Prompt to Save Snips before Exiting Snipping Tool in Windows 10
Add Snipping Tool to Context Menu in Windows

Add Snipping Tool to Context Menu in Windows
How to Add Snipping Tool to Context Menu in WindowsPublished by Jeff FCategory: Customization
08 Mar 2021


 Quote
QuoteTutorial Categories

Related Discussions
