

How to Backup and Restore GPU Preferences for Apps in Windows 10
Starting with Windows 10 build 17093, Microsoft is introducing a new Graphics settings page for Multi-GPU systems that allows you to manage the graphics performance preference of your apps. You may be familiar with similar graphics control panels from AMD and Nvidia, and you can continue to use those control panels. When you set an application preference in the Windows Graphics settings, that will take precedence over the other control panel settings.
This new setting allows you to specify which GPU you prefer to use by default for specific Store (universal) and Desktop (classic) apps. Preferences may provide better app performance or save battery life. Choices may not take effect until the next time the app launches.
Generally, the power saving GPU is the integrated GPU on a system, and the high performance GPU is the discrete GPU or external GPU. If you have both a discrete GPU and an external GPU on a system, the external GPU is considered the high performance GPU.
Applications are always allowed to have the ultimate choice of which GPU to use, so you may see additional applications that do not follow the preferences you set. In that case, look for a setting within the application itself to choose a preference.
Starting with Windows 10 build 19564, Microsoft updated the Graphics settings page (Settings > System > Display > Graphics settings), allowing for better control over designating which GPU your apps run on. With this update, the app list and GPU preference are pre-populated on a best effort basis to improve the default preference management experience. If your desired app isnt pre-populated, you can still add it by using the app selection drop-down. Youll notice alongside this, Microsoft also added a search box and a filter for the list of apps.
Starting with Windows 10 build 20190, Microsoft has made the following improvements:
- Updated the Graphics Settings to allow users to specify a default high performance GPU.
- Updated the Graphics Settings to allow users to pick a specific GPU on a per application basis.
This tutorial will show you how to backup and restore the GPU graphics performance preference for apps settings for your account in Windows 10.
Contents
- Option One: Backup GPU Preferences for Apps to REG file in Registry Editor
- Option Two: Restore GPU Preferences for Apps from REG file
EXAMPLE: Graphics performance preference Settings page
1 Press the Win + R keys to open Run, type regedit into Run, and click/tap on OK to open Registry Editor.
2 Navigate to the registry key below in the left pane of Registry Editor. (see screenshot below step 3)
HKEY_CURRENT_USER\SOFTWARE\Microsoft\DirectX\UserGpuPreferences
This registry key will only be available if you had made any changes to your Graphics performance preference settings.
3 Right click or press and hold on the UserGpuPreferences key in the left pane of Registry Editor, and click/tap on Export. (see screenshot below)
4 Navigate to the location (ex: Destop) where you want to save/export this .reg file at, type a name (ex: "My_Gpu_Preferences") you want for this .reg file, and click/tap on Save. (see screenshot below)
1 Navigate to the location of the exported .reg file (ex: "My_Gpu_Preferences.reg") from Option One, and perform one of the following actions below to import (merge) the .reg file. (see screenshot below)
A) Double click/tap on the .reg file
OR
B) Right click or press and hold on the .reg file, and click/tap on Merge.
2 If prompted by UAC, click/tap on Yes to approve elevation. (see screenshot below)
3 Click/tap on Yes to confirm. (see screenshot below)
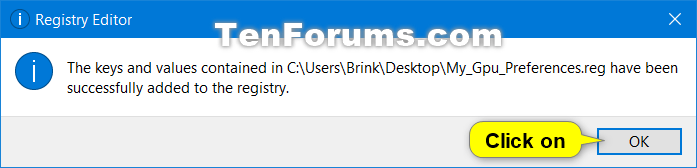
4 Click/tap on OK. (see screenshot below)
That's it,
Shawn
Related Tutorials
- How to Set Preferred GPU for Apps in Windows 10
- How to Reset GPU Preferences for Apps to Default in Windows 10
How to Backup and Restore GPU Preferences for Apps in Windows 10

How to Backup and Restore GPU Preferences for Apps in Windows 10
Published by Shawn BrinkCategory: Backup & Restore09 Sep 2020


Tutorial Categories

Related Discussions
