

How to Enable or Disable Touch Screen in Windows 10
A touchscreen, or touch screen, is an input device that enables you to interact directly with what is displayed, rather than using a mouse, touchpad, or other such devices (other than a stylus, which is optional for most modern touchscreens).
If your device has a touch screen, you may want to disable and enable it as needed.
See also: Enable and disable your touchscreen in Windows 10 | Windows Support
This tutorial will show you how to enable or disable the touch screen in Windows 10.
You must be signed in as an administrator to enable or disable the touch screen in Device Manager.
Contents
- Option One: Disable Touch Screen in Device Manager
- Option Two: Enable Touch Screen in Device Manager
- Option Three: Enable Touch Screen in Device Manager Properties
1 Open Device Manager.
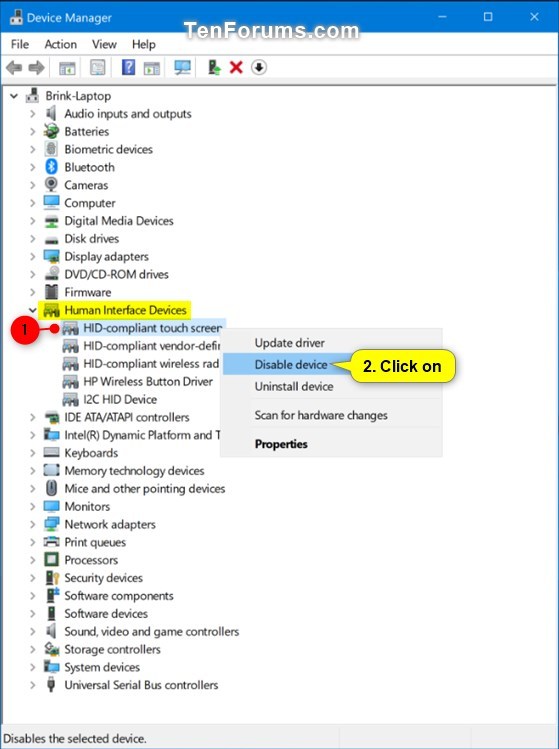
2 Expand open Human Interface Devices. (see screenshot below)
3 Right click or press and hold on HD-compliant touch screen, and click/tap on Disable device.
4 Click/tap on Yes to confirm.
5 When finished, you can close Device Manager if you like.
1 Open Device Manager.
2 Expand open Human Interface Devices. (see screenshot below)
3 Right click on HD-compliant touch screen, and click/tap on Enable device.
4 When finished, you can close Device Manager if you like.
1 Open Device Manager.
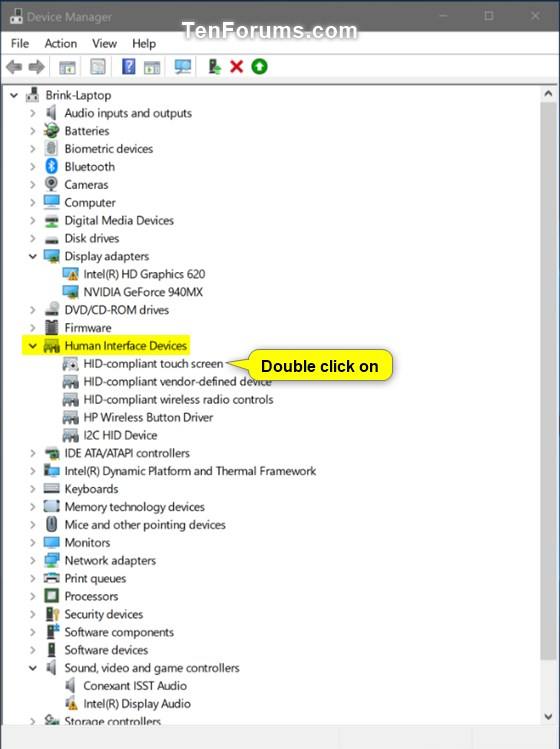
2 Expand open Human Interface Devices. (see screenshot below)
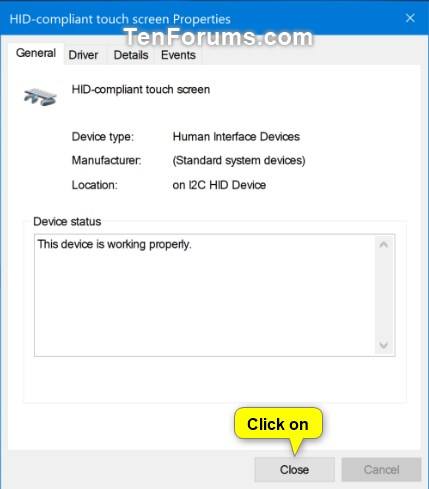
3 Double click on HD-compliant touch screen.
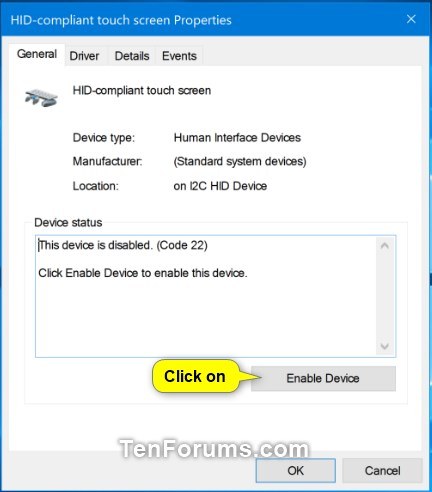
4 In the General tab, click/tap on the Enable Device button.
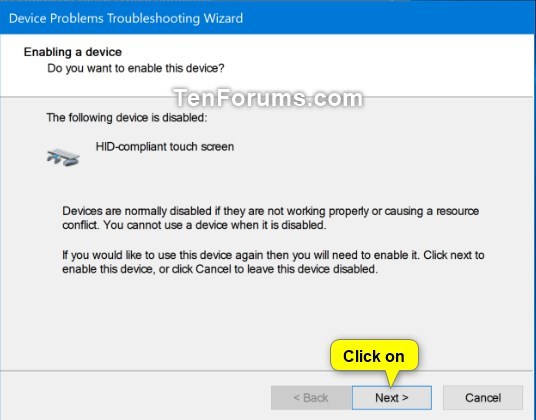
5 Click/tap on Next.
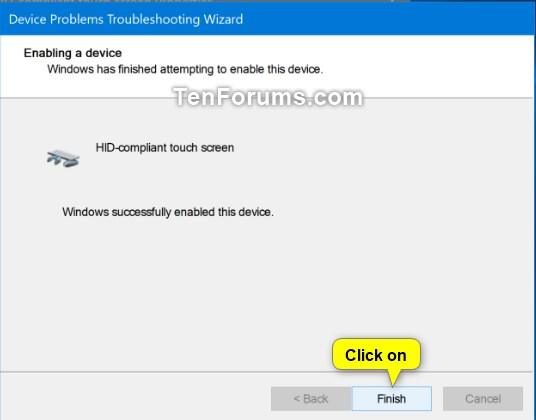
6 Click/tap on Finish.
7 Click/tap on Close.
8 When finished, you can close Device Manager if you like.
That's it,
Shawn
Related Tutorials
- How to Enable or Disable Touch by Finger in Windows 10
- How to Turn On or Off Touch Visual Feedback in Windows 10
- List of Touch Gestures for Windows 10
- How to Perform a Right Click on a Touchscreen in Windows 10
- How to Change Touch Scrolling Friction in Windows 10
Enable or Disable Touch Screen in Windows 10

Enable or Disable Touch Screen in Windows 10
How to Enable or Disable Touch Screen in Windows 10Published by Shawn BrinkCategory: Hardware & Drivers
10 Apr 2020


Tutorial Categories

Related Discussions
