

How to Turn On or Off Snip Outline in Snip & Sketch app in Windows 10
The Snip & Sketch app included in Windows 10 allows you to quickly annotate screenshots, photos and other images with your pen, touch, or mouse and save, paste or share with other apps.
Starting with Snip & Sketch version 10.1809.2964.0 and higher, you can have a border outline automatically added to snips when you take a snip using the Snip & Sketch app.
This tutorial will show you how to turn on or off adding an outline to snips in the Snip & Sketch app for your account in Windows 10.
Here's How:
1 Open the Snip & Sketch app.
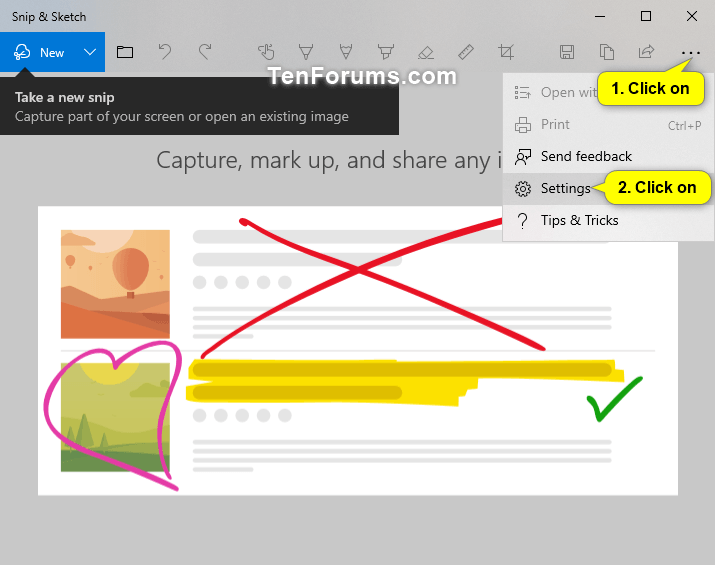
2 Click/tap on the See more (3 dots) button at the top right, and click/tap on Settings. (see screenshot below)
3 Do step 4 (off) or step 5 (on) below for what you want to do.
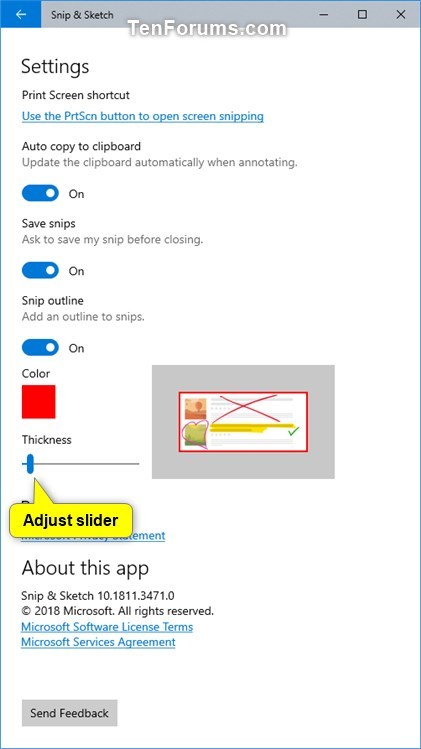
A) Turn on Snip outline. (see screenshot below)
B) Click/tap on the Color square, select a color you want for the outline, and click/tap on an empty area in Snip & Sketch settings. (see screenshots below)

C) Adjust the Thickness slider to the level number you want for the outline, and go to step 6 below. (see screenshot below)
6 You can now close the Snip & Sketch app if you like.
That's it,
Shawn
Related Tutorials
- How to Take a Screen Snip (Screenshot) with Snip & Sketch in Windows 10
- How to Create Screen Snip Shortcut in Windows 10
- How Turn On or Off Use Print Screen Key to Launch Screen Snipping in Windows 10
- How to Add or Remove Screen Snip Context Menu in Windows 10
- How to Turn On or Off Ask to Save Snip before Closing Snip & Sketch app in Windows 10
- How to Turn On or Off Auto Copy to Clipboard for Snip & Sketch app in Windows 10
- How to Backup and Restore Snip & Sketch app Settings in Windows 10
- How to Turn On or Off Single Window Mode in Snip & Sketch app in Windows 10
Turn On or Off Snip Outline in Snip & Sketch app in Windows 10
-
New #1
Any idea why Snip and Sketch does not work in VR (WMR)?
It goes through the motion but the image is garbled.
Works fine not in VR
-
New #2
Outline Option Missing
I am missing this "Outline" option. Yes I did Settings -> Apps -> Snip & Sketch -> Advanced Options -> Reset. I also uninstalled it and reinstalled it. Still, "Outline" is missing from the options page.
[spoiler]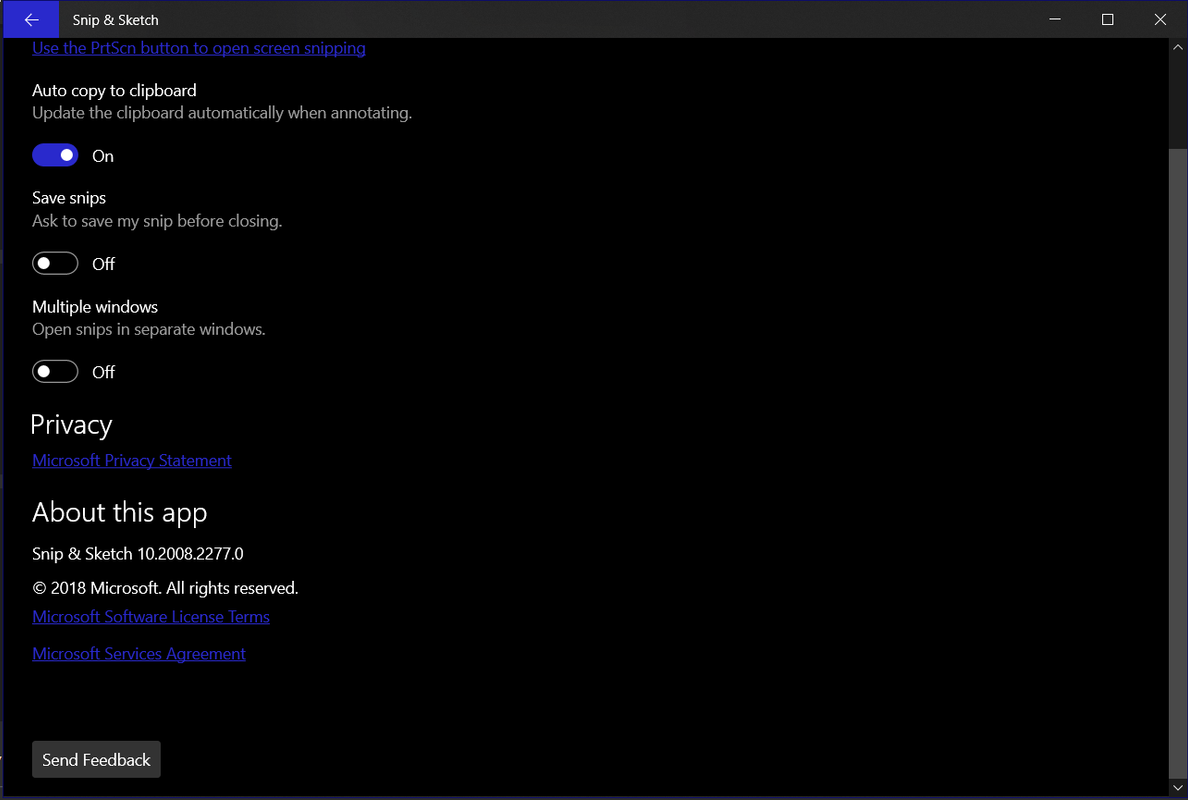 [/spoiler]

Turn On or Off Snip Outline in Snip & Sketch app in Windows 10
How to Turn On or Off Snip Outline in Snip & Sketch app in Windows 10Published by Shawn BrinkCategory: Apps & Features
11 Aug 2020


 Quote
QuoteTutorial Categories

Related Discussions
