

How to Add Sync Center Context Menu in Windows
Offline Files is a feature of Sync Center that makes network files available to a user, even if the network connection to the server is unavailable.
Users can use offline files (if enabled) to make their network files always available offline to keep a copy of the files stored on the network on your computer. This allows users to work with them even when they are not connected to the network or a server is unavailable. The next time the user connects to the network or the server is available, their offline files on your computer will automatically sync to the network files on the server to update.
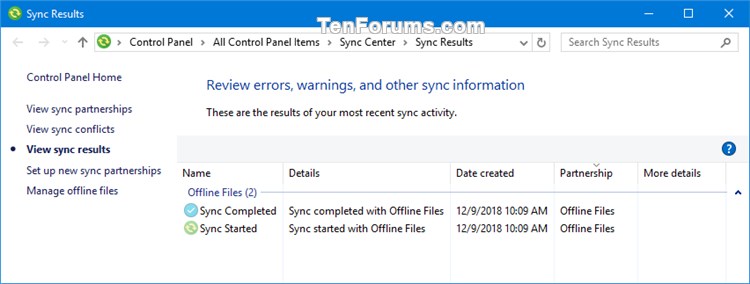
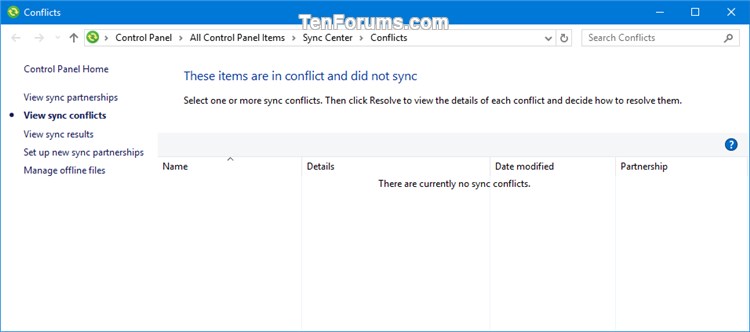
The Sync Center allows you to view recent sync activity, sync now, or change your sync settings for your offline files.
See also:
- Folder Redirection, Offline Files, and Roaming User Profiles overview | Microsoft Docs
- Work Folders and Offline Files support for Windows Information Protection | Storage at Microsoft
This tutorial will show you how to add or remove a Sync Center desktop context menu to for all users to manage their Offline Files in Windows 7, Windows 8, and Windows 10.
While you must be signed in as an administrator to add or remove the context menu, all users will be able to use the context menu.
In Windows 7, the offline files feature is only available in the Professional, Ultimate, and Enterprise editions.
In Windows 8, the offline files feature is only available in the Pro and Enterprise editions.
In Windows 10, the offline files feature is only available in the Pro, Enterprise, and Education editions.
EXAMPLE: Sync Center context menu and items


Here's How:
1. Do step 2 (add) or step 3 (remove) below for what you would like to do.
A) Click/tap on the Download button below to download the file below, and go to step 4 below.
Add_Sync_Center_to_desktop_context_menu.reg
Download
A) Click/tap on the Download button below to download the file below, and go to step 4 below.
Remove_Sync_Center_from_desktop_context_menu.reg
Download
4. Save the .reg file to your desktop.
5. Double click/tap on the downloaded .reg file to merge it.
6. When prompted, click/tap on Run, Yes (UAC), Yes, and OK to approve the merge.
7. You can now delete the downloaded .reg file if you like.
That's it,
Shawn
Related Tutorials
- How to Enable or Disable Offline Files in Windows
- How to Set or Unset Network Files as Always Available Offline in Windows
- How to Create Offline Files Folder Shortcut in Windows
- How to Change Offline Files Disk Usage Limits in Windows
- How to Encrypt or Unencrypt Offline Files Cache in Windows
- How to Manually Sync Offline Files in Windows
- How to Create New Offline Files Sync Schedule in Windows
- How to Delete Offline Files Sync Schedule in Windows
- How to Edit Offline Files Sync Schedule in Windows
Add Sync Center Context Menu in Windows

Add Sync Center Context Menu in Windows
How to Add Sync Center Context Menu in WindowsPublished by Shawn BrinkCategory: Network & Sharing
09 Dec 2018


Tutorial Categories

Related Discussions
