

How to Restore Default Font Settings in Windows
A font is a graphical representation of text that may include a different typeface, point size, weight, color, or design.
You can change the following font settings in Windows:
- Hide or show fonts and font families you want in your programs.
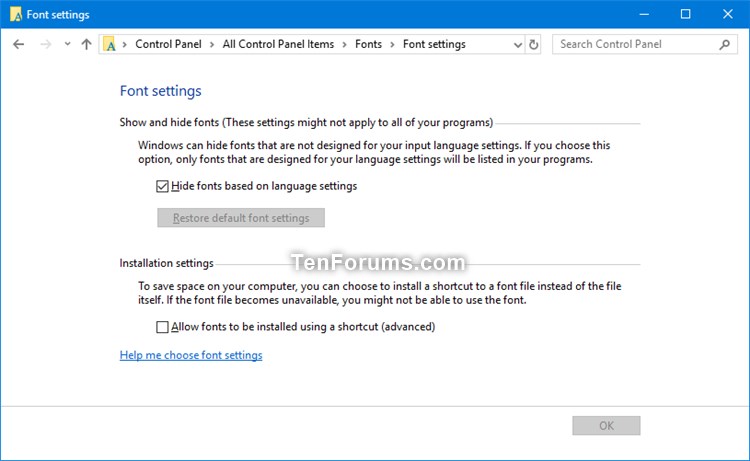
- Hide fonts based on language settings. By default, this setting is turned on (checked) to hide installed fonts that are not designed for your input language settings.
- Allow fonts to be installed using a shortcut (advanced). By default, this setting is turned off (unchecked). To save space on your computer, you can choose to install a shortcut to a font file instead of the file itself. If the font file becomes unavailable, you might not be able to use the font.
This tutorial will show you how to restore default font settings for your account in Windows 7, Windows 8, and Windows 10.
Contents
- Option One: Restore Default Font Settings in Font Settings
- Option Two: Restore Default Font Settings using a REG file
1 Open the C:\Windows\Fonts folder in File Explorer (Win+E).
You could also open the Control Panel (icons view), and click/tap on the Fonts icon to open the Fonts folder.
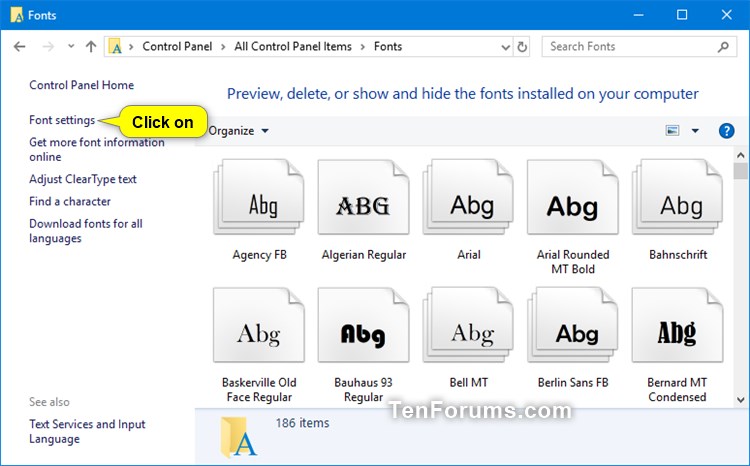
2 Click/tap on the Font settings link at the top left in the Fonts folder. (see screenshot below)
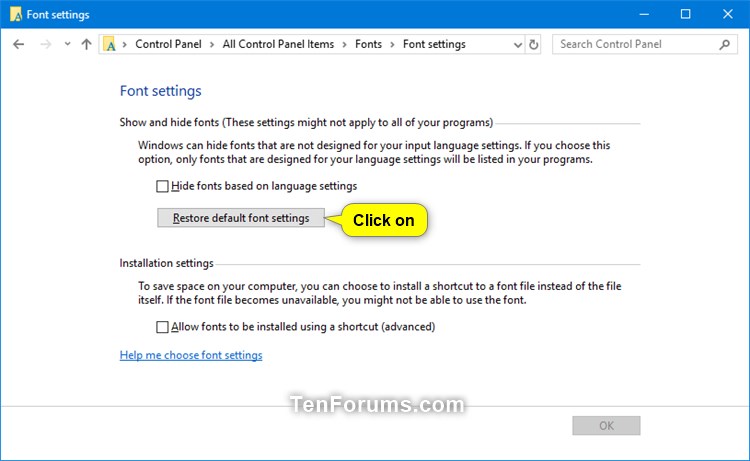
3 Click/tap on the Restore default font settings button. (see screenshots below)
4 You can now close the Fonts folder window if you like.
1 Click/tap on the Download button below to download the file below.
Restore_default_font_settings.reg
Download
(Contents of .reg file for reference.)
Code:Windows Registry Editor Version 5.00 [HKEY_CURRENT_USER\Software\Microsoft\Windows NT\CurrentVersion\Font Management] "Auto Activation Mode"=dword:00000001 "InstallAsLink"=dword:00000000 "Inactive Fonts"=- "Active Languages"=- [-HKEY_CURRENT_USER\Software\Microsoft\Windows NT\CurrentVersion\Font Management\Auto Activation Languages]
2 Save the .reg file to your desktop.
3 Double click/tap on the downloaded .reg file to merge it.
4 When prompted, click/tap on Run, Yes (UAC), Yes, and OK to approve the merge.
5 If the C:\Windows\Fonts folder is currently open, close and reopen it to apply.
6 You can now delete the downloaded .reg file if you like.
That's it,
Shawn
Related Tutorials
- How to Backup and Restore Font Settings in Windows
- How to Preview Fonts in Windows 10
- How to Get Fonts from the Microsoft Store in Windows 10
- How to Install Fonts in Windows 10
- How to Delete Fonts in Windows 10
- How to Hide or Show Fonts in Windows
- How to Create Custom Font with Microsoft Font Maker app in Windows 10
- How to Rebuild Font Cache in Windows 10
- How to Enable or Disable Untrusted Font Blocking in Windows 10
Restore Default Font Settings in Windows

Restore Default Font Settings in Windows
How to Restore Default Font Settings in WindowsPublished by Shawn BrinkCategory: General Tips
22 Jun 2020
Tutorial Categories

Related Discussions
