

How to Calibrate a Game Controller in Windows 10
If your game controller is not functioning properly in Windows 10, then it may need to be calibrated to make sure that the axes are accurate.
This tutorial will show you how to calibrate a game controller in Windows 10.
Contents
- Option One: Reset Game Controller Calibration to Default
- Option Two: Calibrate Game Controller
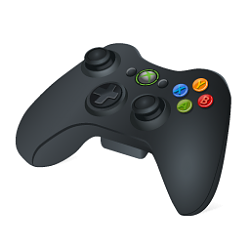
EXAMPLE: Xbox One controller
1 Connect the game controller you want to reset calibration to default for.
2 Open the Control Panel (icons view), and click/tap on the Devices and Printers icon.
3 Under Devices, right click or press and hold on your game controller's icon, and click/tap on Game controller settings. (see screenshot below)
4 Click/tap on Properties. (see screenshot below)
5 Click/tap on the Settings tab, click/tap on the Reset to default button, and click/tap on OK. (see screenshot below)
6 Click/tap on OK. (see screenshot below)
7 You can now close the Devices and Printers window if you like.
1 Connect the game controller you want to calibration.
2 Open the Control Panel (icons view), and click/tap on the Devices and Printers icon.
3 Under Devices, right click or press and hold on your game controller's icon, and click/tap on Game controller settings. (see screenshot below)
4 Click/tap on Properties. (see screenshot below)
5 Click/tap on the Settings tab, and click/tap on the Calibrate button. (see screenshot below)
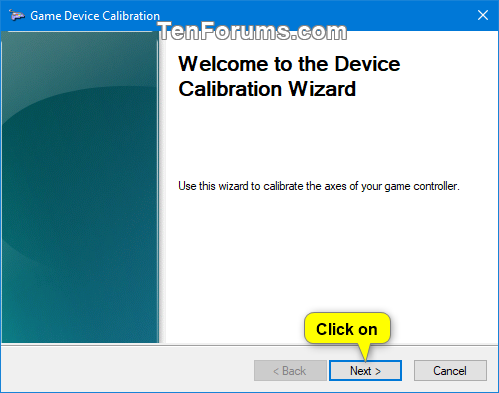
6 Click/tap on Next. (see screenshot below)
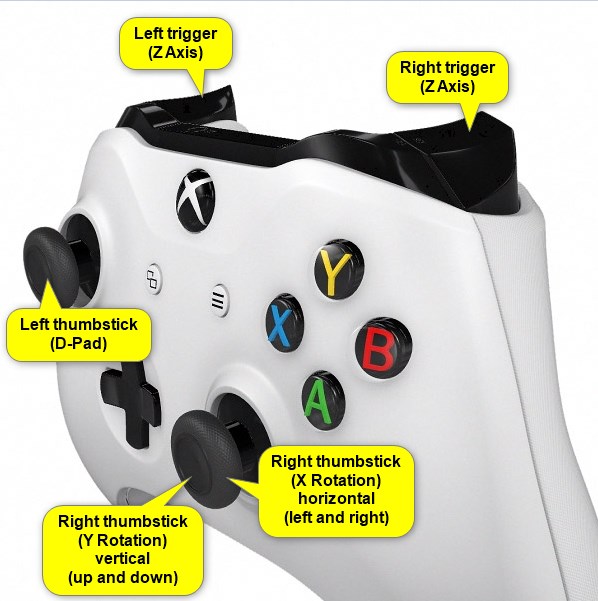
7 Leave the D-Pad (left thumbstick) centered on your game controller, and press a button on the controller. (see screenshot below)
8 Move the D-Pad (ex: left thumbstick on Xbox One controller) around all corners, then press a button on the controller. (see screenshot below)
You can check the Display raw data box to see axis details.
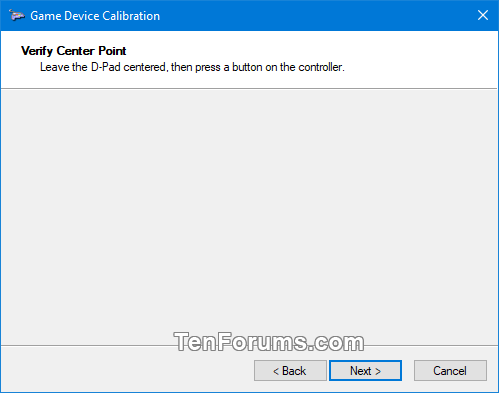
9 Leave the D-Pad (left thumbstick) centered on your game controller, and press a button on the controller to verify center point. (see screenshot below)
10 Move the Z Axis all the way up and down (ex: left and right trigger button on Xbox One controller), then press a button on the controller. (see screenshots below)


11 Move the X Rotation all the way up and down (ex: left and right on right thumbstick on Xbox One controller), then press a button on the controller. (see screenshots below)


12 Move the Y Rotation all the way up and down (ex: up and down on right thumbstick on Xbox One controller), then press a button on the controller. (see screenshots below)


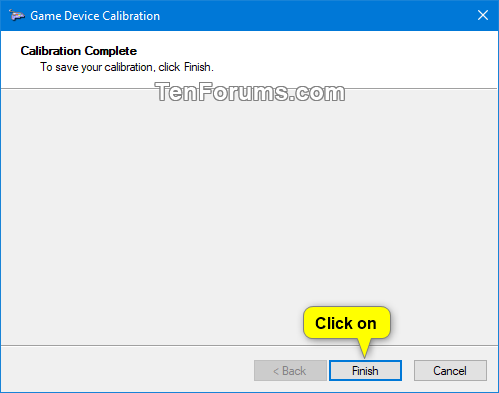
13 When calibration is complete, click/tap on Finish. (see screenshot below)
14 Test your calibration by moving the thumbsticks and pressing buttons on your game controller. Click/tap on OK when finished. (see screenshot below)
15 Click/tap on OK. (see screenshot below)
16 You can now close the Devices and Printers window if you like.
That's it,
Shawn
Related Tutorials
Calibrate Game Controller in Windows 10
Calibrate Game Controller in Windows 10
How to Calibrate a Game Controller in Windows 10Published by Shawn BrinkCategory: Gaming
30 Jan 2021


Tutorial Categories

Related Discussions
