

How to Enable S mode in Windows 10
Windows 10 in S mode is a mode that can be applied to a Windows edition to enable a productive Windows experience that's streamlined for security and performanace. By exclusively using apps in the Microsoft Store and ensuring that you browse safely with Microsoft Edge, Windows 10 in S mode keeps you running fast and secure day in and day out. The same technology that makes Windows 10 in S mode secure also creates some differences when creating software images for Windows 10 devices.
In previous versions of Windows, Windows 10 S was a separate edition that required working with a different Windows image than non-S editions. Starting with Windows 10 version 1803, you can Enable S mode on supported Windows editions.
It is not well publicized yet but you can set up S mode in PRO and Home at least (not sure about other SKUs).
To enable S mode, you'll create an unattend.xml file, and then use DISM to apply the unattend file to a mounted Windows image.
Here's How:
I created the following file structure to do this
C:\test\answerfiles containing the xml file (I called it myunattend.xml file) created in step 2
C:\test\images containing the install wim file that we modify from the default in the standard MS iso.
Mount standard 1803 or 1809 ISP as a drive and copy install.wim from sources folder (note - I downloaded iso direct rather than via mct which uses install.esd)
C:\test\offline which needs to be created up front even though blank.
Here we can use ADK and Windows SIM to create the unattend file.
See tutorial link below for the instructions to download and run elevated Deployment and Imaging Tools Environment are in steps 5.3 & 5.4.
Create Windows 10 ISO image from Existing Installation | Windows 10 Tutorials
using latest 1803 ADK
For 1809 you need :-
and only installed the following component as per
Enable S mode | Microsoft Docs
i.e.amd64_Microsoft_Windows_CodeIntegrity component to Pass 2 offline Servicing
and set
amd64_Microsoft_Windows_CodeIntegrity\SkuPolicyRequired to 1.
I then saved the xml file as myunattend.xml in folder as above.Y
You can skip all the ADK/SIM stuff by simply copying following code to myunattend.xml file if you like using notepad or similar.
Code:<?xml version="1.0" encoding="utf-8"?> <unattend xmlns="urn:schemas-microsoft-com:unattend"> <settings pass="offlineServicing"> <component name="Microsoft-Windows-CodeIntegrity" processorArchitecture="amd64" publicKeyToken="31bf3856ad364e35" language="neutral" versionScope="nonSxS" xmlns:wcm="http://schemas.microsoft.com/WMIConfig/2002/State" xmlns:xsi="http://www.w3.org/2001/XMLSchema-instance"> <SkuPolicyRequired>1</SkuPolicyRequired> </component> </settings> xmlns:cpi="urn:schemas-microsoft-com:cpi" /> </unattend>
Type the following command to mount the offline Windows image.
For Home, change name to "Windows 10 Home"Code:Dism /Mount-Image /ImageFile:C:\test\images\install.wim /name:"Windows 10 Pro" /MountDir:C:\test\offline
Type the following command to apply the unattended answer file to the image.
Code:DISM /Image:C:\test\offline /Apply-Unattend:C:\test\answerfiles\myunattend.xml
Type the following command to commit the changes and unmount the image.Code:Dism /Unmount-Image /MountDir:C:\test\offline /Commit
Sometimes it does not properly dismount the files and gives an error message. The install.wim file is properly updated though. If you get that error, run following to tidy up dismounting.
Code:Dism /cleanup-mountpoints
Create usb installation flash drive using standard windows iso, and replace install.wim in sources directory with modified install.wim in images directory
Install and setup in normal way, choosing Home or Pro as appropriate
You now have PRO or Home 10 S running in S mode.
You can in fact modify same install.wim twice repeating Step 3 above so iso has both Home 10S and Pro 10S.
Crete two new subfolders
c:\test\iso
c:\test\iso\isofiles
Copy all files from bootable installation drive to c:\test\iso\isofiles
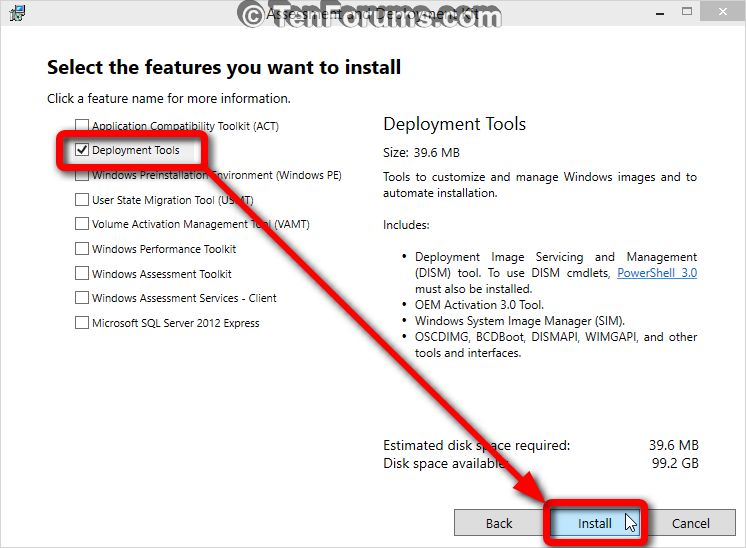
Run following command from command prompt in windows adk kit. If you just copied xml file, you will need to install this as per link (install latest 1803 adk) - only need to install deployment tools ( copy of picture by @Kari)
Download and install the Windows ADK | Microsoft Docs
Edit: for 1809 use this link (until above link is updated)
Download Windows Insider Preview ADK
Code:oscdimg.exe -m -o -u2 -udfver102 -bootdata:2#p0,e,bc:\test\iso\isofiles\boot\etfsboot.com#pEF,e,bc:\test\iso\isofiles\efi\microsoft\boot\efisys.bin c:\test\iso\isofiles c:\test\iso\10S.iso
You will now have a bootable iso 10S.iso in c:\test\iso folder.
How to Enable S mode in Windows 10
-
-
New #2
Nice work Martin!
Just one thing: the cpi:offlineimage line in answer file (highlighted below) is totally unnecessary, created by Windows SIM for reference purposes only, telling which image was used as reference to create answer file. It can be completely removed from all answer files ever created with Windows SIM.
It does no harm if left in place, it's just that it is not needed nor required.
-
-
New #4
Post amended, and tidied up.
I would appreciate somebody giving it a crack. I had one minor issue - after I created new install.wim and copied it to sources folder on a flashdrive, I tried to create a bootable iso for a Hyper-V VM and I have always use imgburn to do this, selecting option to make iso bootable, pointing to etfboot.bin.
For some reason, the iso just would not boot in 1803.
I got round it by using dism to do a clean install to a vhd (having created vhd in hyper-v first to ensure I had all the required partitions) but it is a bit of a faff doing it this way.
-
New #5
Two Microsoft / Windows native methods to make ISO, instead of using ImgBurn: Start with Deployment and Imaging Tools Environment as told in Part Five in this tutorial: Create Windows 10 ISO image from Existing Installation | Windows 10 Tutorials
(You should have Deployment and Imaging Tools Environment installed because you have WSIM / ADK installed.)
Then, try my PS script to make bootable USB flash drive: PowerShell Scripting - Create USB Install Media for Windows 10 | Windows 10 Tutorials
Kari
-
-
-
-
-

How to Enable S mode in Windows 10
Published by cereberusCategory: Installation & Upgrade29 Dec 2019


 Quote
Quote fflineimage line in answer file (highlighted below) is totally unnecessary, created by Windows SIM for reference purposes only, telling which image was used as reference to create answer file. It can be completely removed from all answer files ever created with Windows SIM.
Tutorial Categories

Related Discussions
