

Information
A Homegroup makes it easy to share pictures, music, documents, videos, and printers with other Windows 7, Windows 8, Windows 8.1, and Windows 10 computers on your local home network. You can also stream media to devices.
When a PC creates a homegroup, the homegroup is protected with a password. To join a homegroup, you will need the homegroup password, which you can get from the PC that created the homegroup or any PC already joined to the homegroup.
When a PC joins a homegroup, all user accounts (except guest account) on the PC become members of the homegroup. Each user on the PC will always be able to choose what libraries and devices to share with the homegroup.
This tutorial will show you how to create a homegroup in Windows 10 to share files and printers with other Windows 7, Windows 8, and Windows 10 computers on your home network.
Note
Homegroup Notes and Requirements:
- You will need at least two computers running Windows 7, Windows 8, Windows 8.1, and/or Windows 10 on your home network to set up a homegroup.
- Windows 7 Starter, Windows 7 Home Basic, and Windows RT PCs cannot create a homegroup. They are only able to join a homegroup.
- If you are already part of a homegroup on a separate network, you must leave that homegroup to join another homegroup.
- You can join computers to a homegroup whether they connect by using wired and wireless networking.
- If your PC is joined to a domain, you can join a homegroup but you cannot create a homegroup. You can access files and resources on other homegroup PCs, but you cannot share your own files and resources with the homegroup.
- All homegroup PCs must be synced or set with the correct time and date.
- Each homegroup PC muse have a different computer name than the other homegroup PCs.
- All homegroup PCs must be members of the same workgroup.
- All homegroup PCs must be set to use a private (aka: home) network location.
- All homegroup PCs must have network discovery turned on for the private network profile.
- All homegroup PCs must have file and printer sharing turned on for the private network profile.
- All homegroup PCs must have the services below enabled and running.
- DNS Client
- Function Discovery Provider Host
- Function Discovery Resource Publication
- HomeGroup Listener
- HomeGroup Provider
- Network List Service
- Peer Networking Grouping
- Server
- SSDP Discovery
- UPnP Device Host
- All homegroup PCs must have the items below turned on in the network connection properties of their network adapter. (see screenshot below)
- File and Printer Sharing for Microsoft Networks
- Internet Protocol Version 6 (TCP/IPv6)
Warning
Starting with Windows 10 build 17063, the HomeGroup service is no longer operational in Windows 10. The user profile used for sharing and the file/folder/printer shares will continue to work.
Here are recommended alternatives to HomeGroup for you to get the best file-sharing experience in Windows 10 going forward:
- File Storage:
- OneDrive is a cloud-first, cross-device storage and collaboration platform for all of the pieces of data that matter most in your life like your files, your photos, your videos, and more.
- OneDrive Files On-Demand takes cloud file storage a step further, allowing you to access all your files in the cloud without having to download them and use storage space on your device.
- Share Functionality: For those who prefer not to use the Cloud to connect their devices, the Share functionality for folders and printers allows you to see the available devices and connect them to and from other PCs on your home network.
- Easier Connection: No more remembering cryptic HomeGroup passwords in order to connect to another PC. You can now simply connect through your Microsoft Account email address across devices.
Here's How:
1. Do step 2 or step 3 below for how you would like to open the Create a Homegroup wizard.
2. Open File Explorer, click/tap on Homegroup in the navigation pane, click/tap on Create a Homegroup, and go to step 4 below. (see screenshot below)
If a homegroup already exists on your network, Windows will ask if you would like to join it instead of creating a new one.
3. Open the Control Panel (icons view), click/tap on the Homegroup icon, click/tap on Create a Homegroup, and go to step 4 below. (see screenshot below)
If a homegroup already exists on your network, Windows will ask if you would like to join it instead of creating a new one.
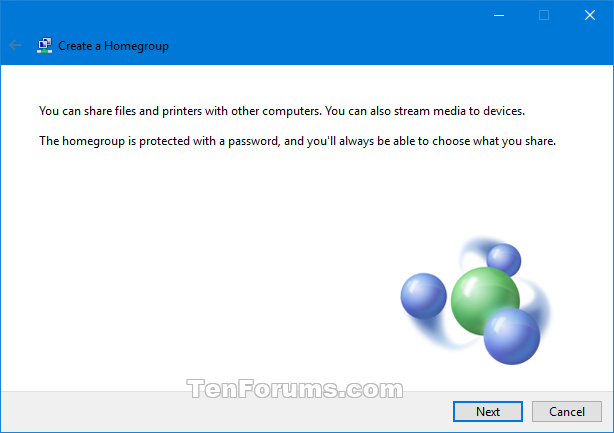
4. Click/tap on Next. (see screenshot below)
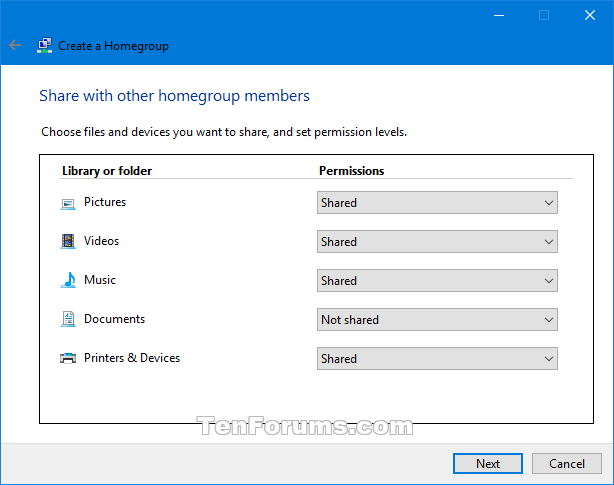
5. Set permissions to either Shared or Not shared for the files and devices you want to share from your account, and click/tap on Next. (see screenshot below)
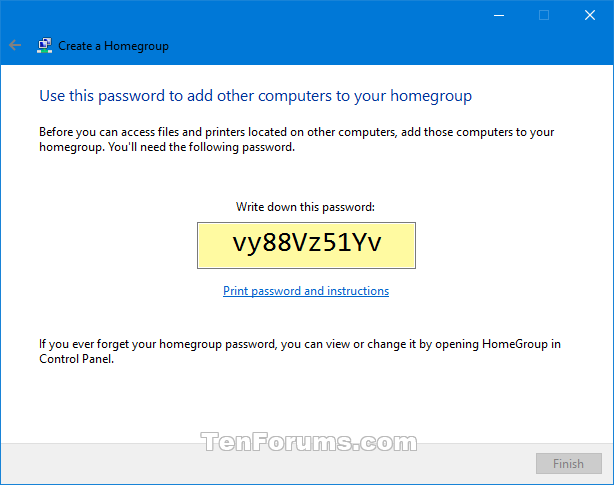
6. Windows will now automatically generate a homegroup password. You will need this password to join computers to the homegroup. Write down your homegroup password, and click/tap on Finish when ready. (see screenshot below)
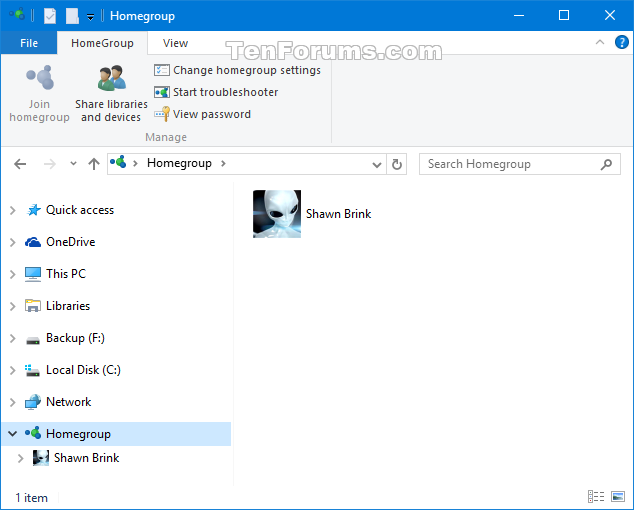
7. You have now created a homegroup. Computers on your home network can now join the homegroup. (see screenshots below)
That's it,
Shawn
Related Tutorials
- How to Join a Homegroup in Windows 10
- How to Leave a Homegroup in Windows 10
- How to View or Print Homegroup Password in Windows 10
- How to Change Homegroup Password in Windows 10
- How to Add or Remove Homegroup in Navigation Pane of File Explorer in Windows 10
- How to Add HomeGroup to Context Menu in Windows 10
Create Homegroup in Windows 10

Create Homegroup in Windows 10
How to Create a Homegroup in Windows 10Published by Shawn BrinkCategory: Network & Sharing
19 Dec 2017


Tutorial Categories

Related Discussions
