
New
#51
Works well at 125% but, for me, not at anything above (150, 175, 200). So I'm not sure why those are even options.
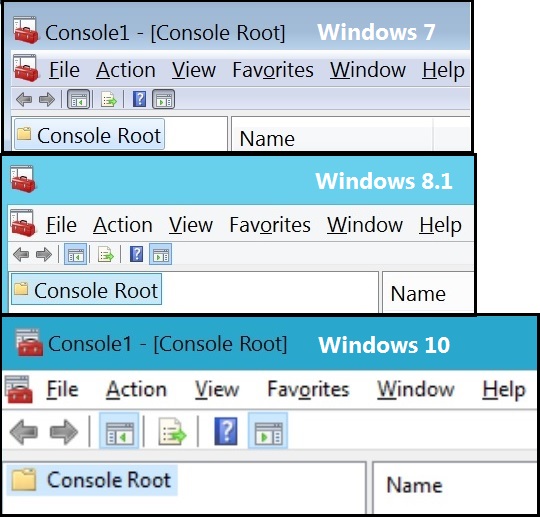
MMC.exe is the easy litmus BTW.
Works well at 125% but, for me, not at anything above (150, 175, 200). So I'm not sure why those are even options.
MMC.exe is the easy litmus BTW.
You should read this. He (or she) complains a bit but it does explain how it works and how versions later than XP tried to deal with developers who didn't quite do things correctly. (Sorry for the labored language there)
It is the best description I've found so far if you can read it without getting annoyed
Welcome to the 10 forums anyway Madam/Sir.
Thanks for the link and the welcome. However, this is material I'm already very experienced with.
The previous workaround (Windows 8) for disabling DPI virtualization with mmc.exe by adding its path to the AppCompatFlags\Layers key with a HIGHDPIAWARE value doesnt work in Windows 10. The method outlined in this thread does properly compensate for a 120 DPI value, but not 144 or 168 (in my experience).
As an enterprise admin, I have to use a myriad of console snap-ins for MMC. For optimum resolution, I use 175% DPI scaling. On Windows 10, this configuration renders my tools distorted and nearly unusable.
Last edited by eeprom; 01 Jun 2016 at 13:27.
I know this thread is a bit long winded and it really does depend on what build you are running but have you tried this?
Solved FIX | Windows 10 Blurry Text and Windows! - Windows 10 Forums
I found it helped me on build 10586 build but in later ones I didn't need to do it. There is no point downloading the program referred to here as all it does is make the same registry changes.
Yes, its a lengthy thread, but I read every post - even the nonsensical ones. Im working with build 10586.
Yes, since that registry mod is the crux of this thread, I did try it. As I stated previously, it works for 125%. For 150% or 175%, for me, it doesnt.
Its any easy issue to reproduce: change the LogPixels DWORD decimal value from 120 to 168, sign out, sign in, launch mmc.exe, and observe the distortion.
Some of mine I presume
You should post your specs as not everyone is the same.
For example I am running Windows 10 on a 2013 retina MacBook Pro. The native apps were really horrible and then cleared up in later builds.
Maybe if you update your system details someone will have the same as you and can help more than me....
I did find this was a useful post though (I think that you might have to sign up to see it...) [SOLVED] Windows 10 higher DPI - Win8DpiScaling problem
As far as system specs, Ive loaded build 10586.318 on a Dell Latitude E6440, a Dell Venue 11 Pro, a Dell OptiPlex 7010 and a VMware Virtual Machine version 11. Both X86 and X64 for good measure.
Regardless of the system, I can reproduce this issue every time. The specifications are seemingly irrelevant.
What DPI scaling level are you using?
It states that they were successful in getting 125% DPI to render correctly. Which I can confirm. It does. But not higher levels above that.
I use 150% which works OK for me at the moment. I'm getting a bit old and 125% was too small for me (on a 13" laptop).
I do have issues with Windows rearranging my icons when I sign onto another account (it crams them really small into the top left corner) but the blurry issue has gone and I don't have to update the Win8DPIScaling and logPixels any more.
You could try doing what I did in the pastYou just have to figure out what scaling you want in hex for the LogPixels value. I use 150% which is (if you calculate it) 96 (this is the starting DPI) + 24*2 = 144. Converted to hex that is x90. If you wanted 200% it would be 96 plus 4*24 which is 192 or xC0.Code:GOTO EndComment DpiScalingVer - originally 1000 Win8DpiScaling - originally 0 LogPixels - originally absent DPI--->Scale Factor 96(x60)--->100% 120(x78)--->125% 144(x90)--->150% ** Current** 192(xC0)--->200% 240(xF0)--->250% Every 25% of the scale factor corresponds to a difference of 24 dpi (120-96) :EndComment REG ADD "HKCU\Control Panel\Desktop" /v DpiScalingVer /t REG_DWORD /d 0x00001018 /f REG ADD "HKCU\Control Panel\Desktop" /v Win8DpiScaling /t REG_DWORD /d 0x00000001 /f REG ADD "HKCU\Control Panel\Desktop" /v LogPixels /t REG_DWORD /d 0x00000090n /f
Like I said though it seems (at least for me) to be working without doing it now.
Just save it somewhere and set up a task to run it on every log-on.
I'm using 125% dpi scaling, but as of version 1607, build 14393.5 (or possibly an earlier update), the blurry dpi issue is fixed. I did the following:
Turn off xpexplorer (set it back to Windows 10 scaling), then reboot twice as instructed.
In Settings > System > Display, set the dpi back to 100%.
In Control Panel > Display, click on "set a custom scaling level" and set it back to 100%.
Sign out, and sign back in.
Open Control Panel > Display and click on "set a custom scaling level." This time, set it to the desired level (125% for me).
Sign out and sign back in. No more blurriness!
The Settings > Display app shows "A custom scale factor is set." in red letters, and the slider is greyed out at 175% (??) but everything works fine.

 Quote
Quote

